En esta sección
Customers
Customer creation is similar to Supplier creation, and the maintenance form has a very similar structure. To access the customer form, select the Customers section from the Sales menu; a list of all created customers will appear.

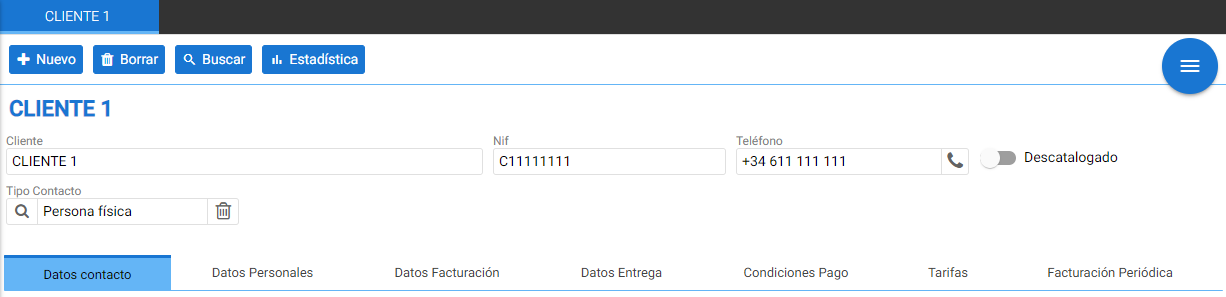
When viewing a client's record, you mainly see a header with the main details: The name, the NIF, the contact phone number, a delist button, and the contact type selector depending on whether it is an individual or a legal entity.
Below are explained the seven tabs that define the parameters of the created individual or company.
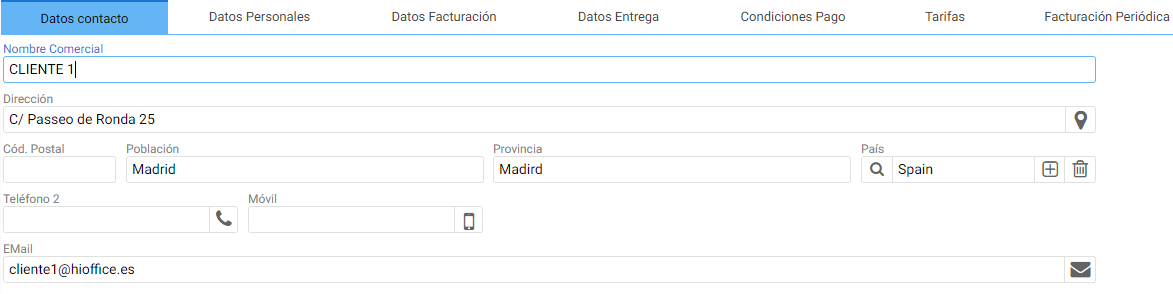
Contact details:
Where the information to establish contact with the user is defined.
The address, phone number, and email address are the most important fields in this section.
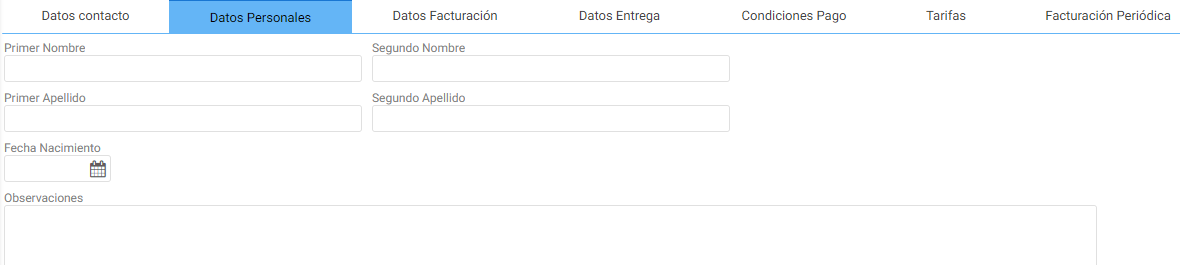
Personal data:
From the section Personal data Additional customer information can be configured; the data defined here pertains to an individual. Additionally, an Observations field is useful for noting additional details related to recurring customers or information the seller should consider.
Billing details:
From the section of Billing information The tax details are configured. On this tab, you define the type of tax identification document, the billing scheme, the default currency this client uses, as well as specifying whether tax-exempt invoicing is desired. This information is essential for proper control of sales invoicing.
Other various options are also found, such as the buttons to enable/disable the sending of documents to the client's email or the generation of an invoice.
The [Minimum Amount] field is used to apply one payment condition or another, the [Risk] field allows limiting a maximum credit charge for this user.
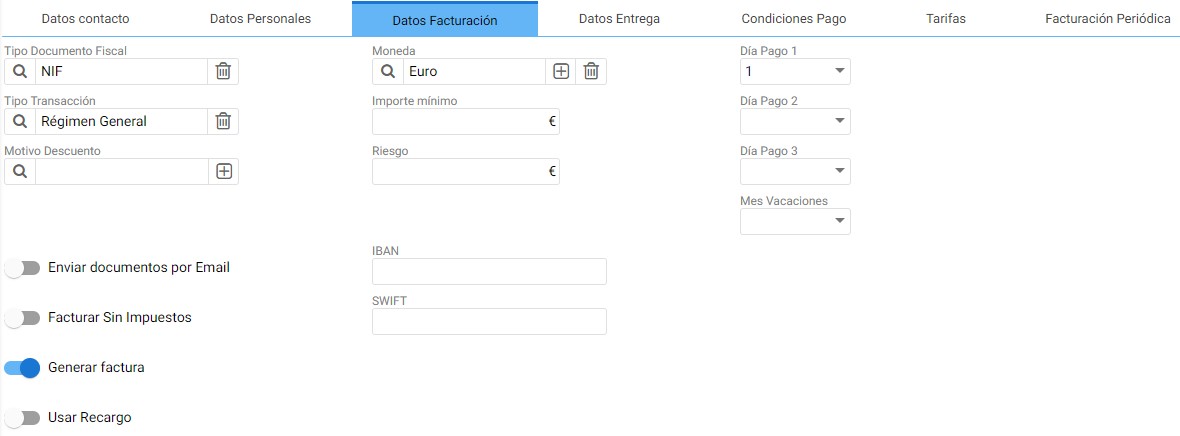
The [Apply surcharge] button must be activated when a customer is charged a surcharge on the tax (equivalence surcharge).
If you need to make transactions or bank transfers, you must fill in the banking information fields located in the center of this section: IBAN and SWIFT.
Lastly, with the [Payment Day 1, 2 and 3] options, you can have better organization of the collection calendar, and the [Vacation Month] field is informative.
Delivery Details:
It's the same option available to suppliers, it provides information on the days of the week that the client allows for merchandise delivery.

Payment terms:
Here you can link the type of payment condition that is applicable to this client with the relevant condition.

Rates:
Finally, from the Rates section, you can associate a default rate with the customer. To add a rate, you just need to select New.

Recurring billing:
For managing a client's monthly billing, there's no need to manually create the same invoice every month, as recurring billing can be configured in their client record.

This tool is composed of a table that contains all the necessary fields to complete a new invoice each month. You only need to confirm this information:
- The item and the units to be invoiced: it can be an expense item that does not have stock.
- The start date and the end date: The dates on which monthly payments begin and end.
- The date of the next invoice.
- The day of the month on which the documents will be created by default.
- The range of months between billings.
- The header parameters which are the series, the warehouse, and the currency.
- The amount per item and the discount to apply.
Accounting:
The tab where the Account Group to which the Client belongs (which will define the root of their ledger account) and the Accounting Suffix must be configured, which the program will automatically append to the client root, padding the ledger account with zeros until it reaches twelve digits.
For Example: In the following image, code 4 has been defined as the Suffix, therefore the accounting entries assigned to this client will go to account 430000000004.
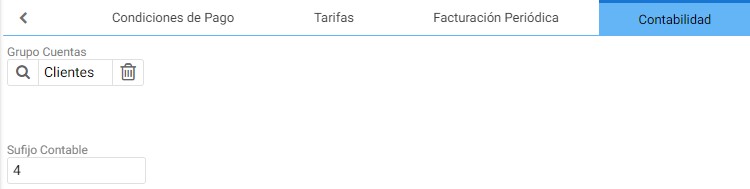
The accounting root 430 is part of the Customer Accounts Group; these can be found in the Chart of Accounts.
AI Assistant
Section summary
AI can generate inaccurate information; verify the results.