En esta sección
Campaigns
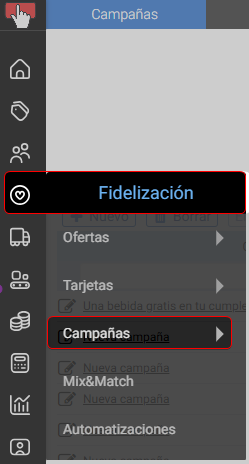
HiOffice has a Campaigns module that will also allow the business to retain customers by sending emails. The Campaigns module available within HIOFFICE's Loyalty menu.
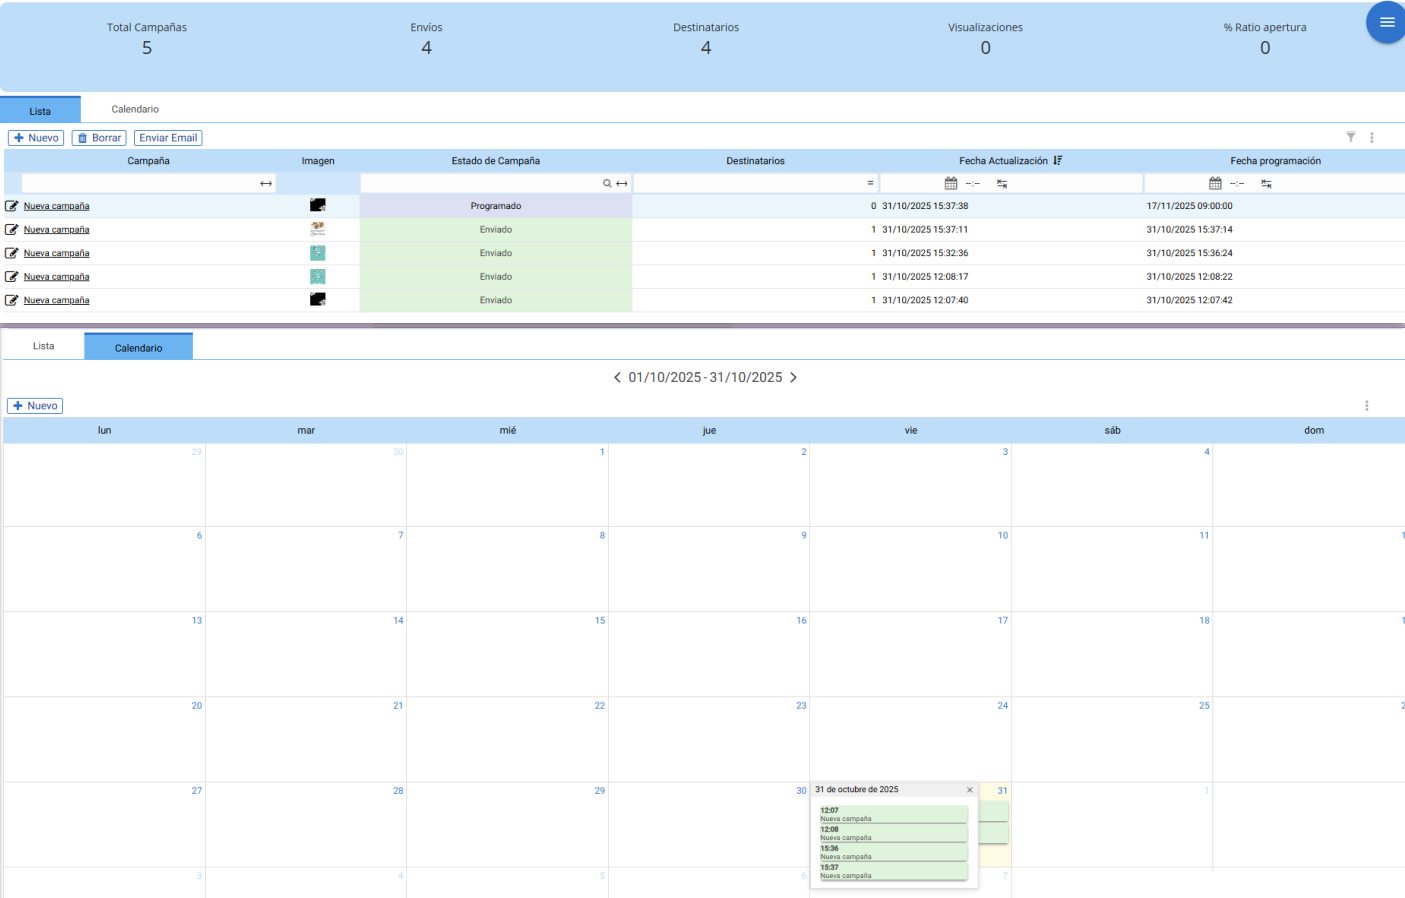
The campaigns can be viewed in the tab List or on the tab Calendar (more graphically displayed on a monthly calendar). On both tabs, it is possible to create a New Campaign.
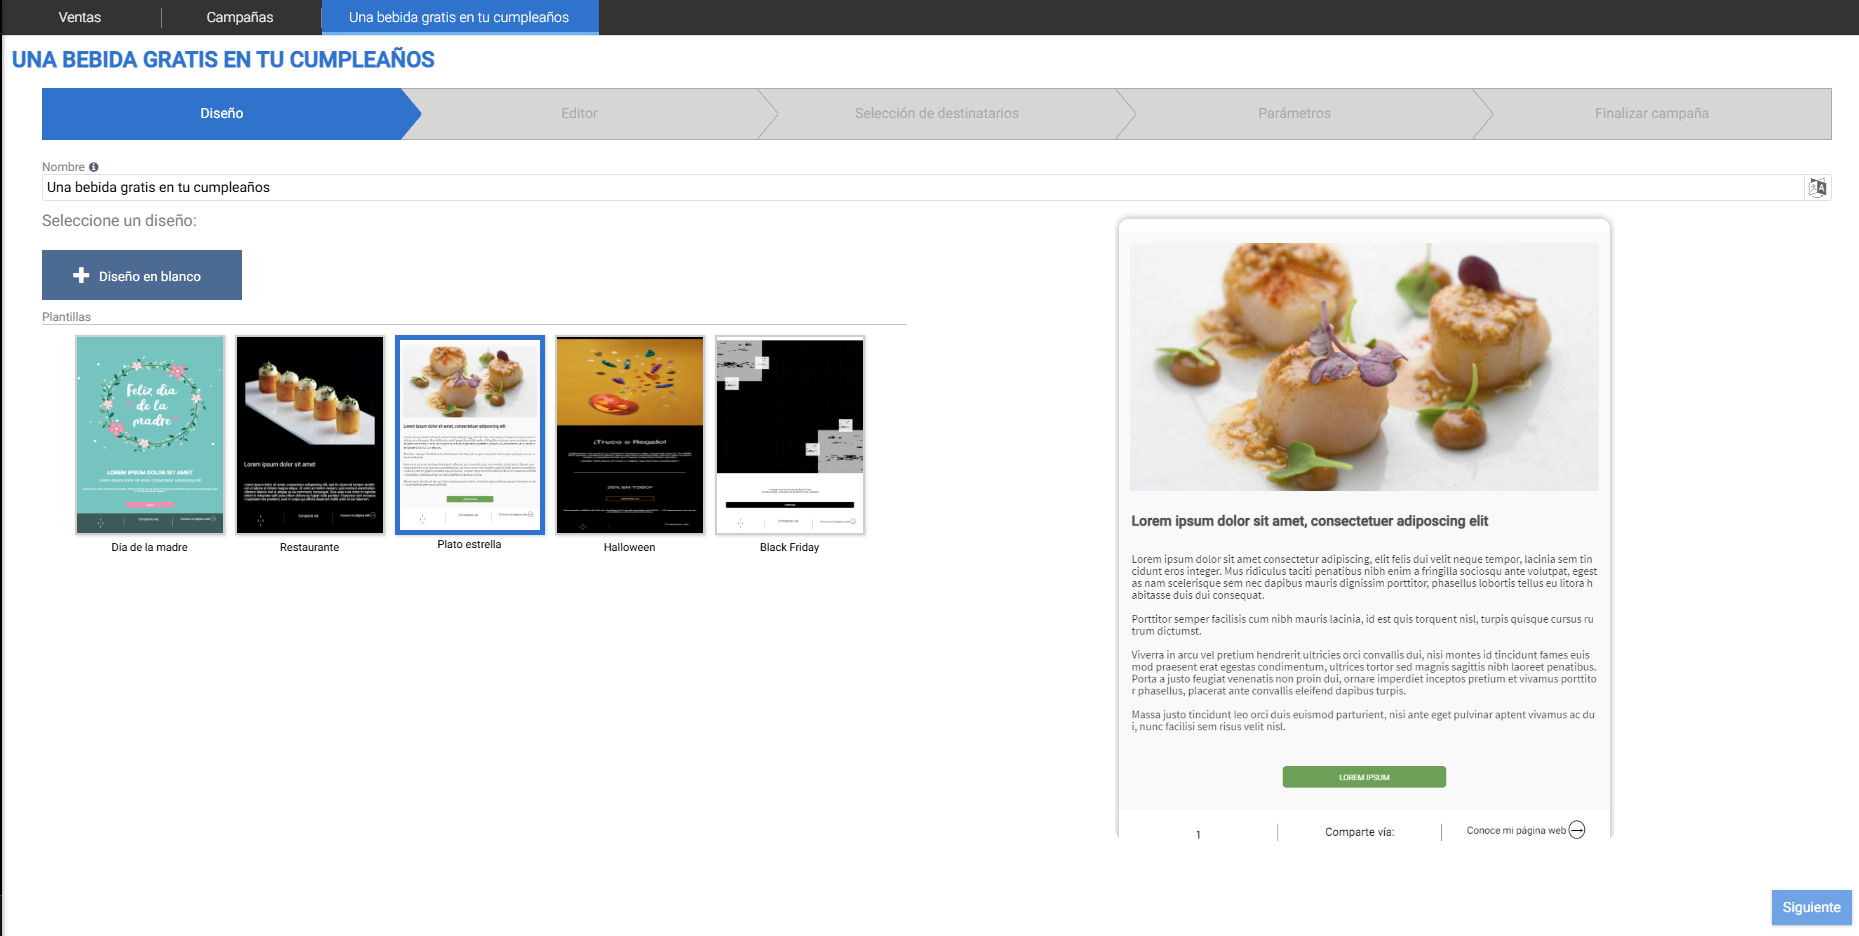
On the first screen, the design must be created. A name must be assigned, a template selected (if required) or the BLANK DESIGN option selected, and then click Next:
Next, the email design must be created by selecting the necessary components to build the campaign to be sent, with the addition of QR Codes, images, texts, Logos, social media links…
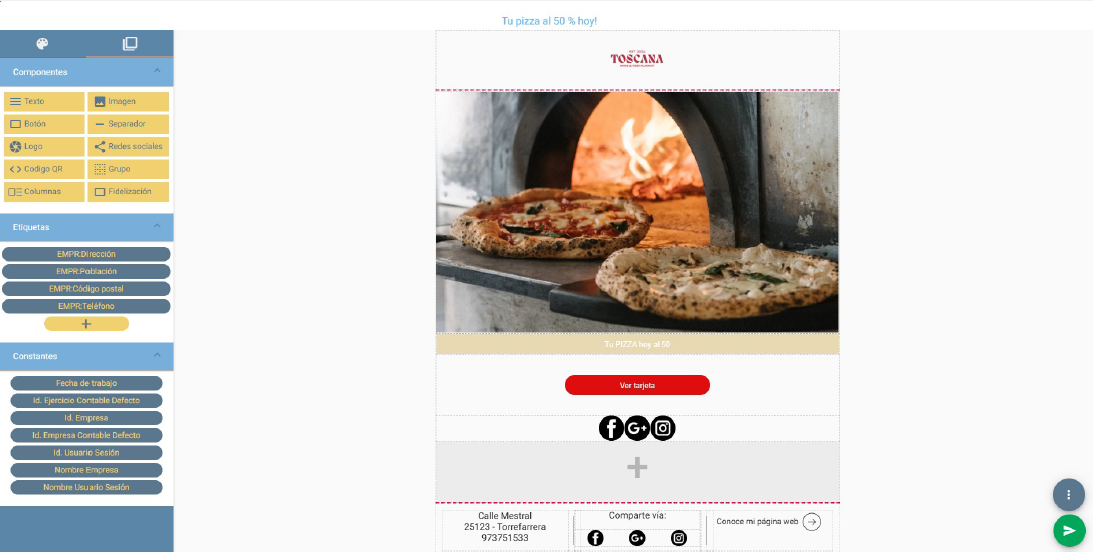
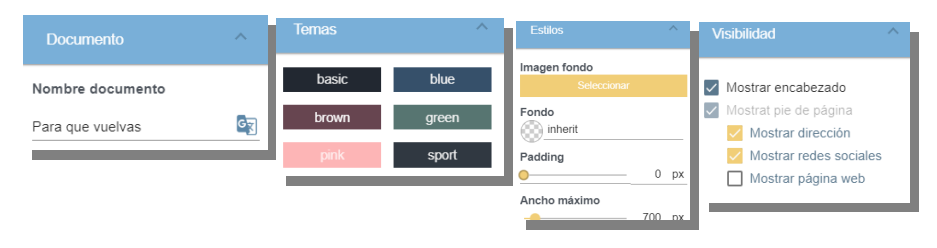
The initial tab, with the icon of a painter's palette, contains the design tools for the campaign's base and allows you to define a theme and style for the background.
The campaign name is in Document. In Themes, the program offers predefined themes for the base. You can customize the theme in Styles with color and size selection options. Visibility will define which blocks should be displayed.
The following tab is identified by an icon of two overlapping squares; it contains the various blocks and labels that can be added. To do this, you must drag them to the desired position in the design:
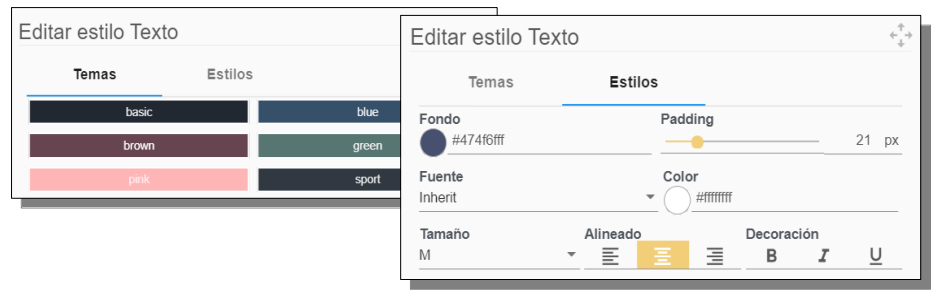
To modify each block, you need to select the field, which will display a yellow border. On the left, a three-dot button allows you to drag the block, and on the right are the edit, add, and delete buttons.

The Edit button contains the functions of associating a default theme or customizing the style of the background and typography.
TIP: In the image block, the system also allows adding GIFs.
Once finished, changes must be saved using the save button, which is found via the circular button with three dots in the bottom right corner of the screen:
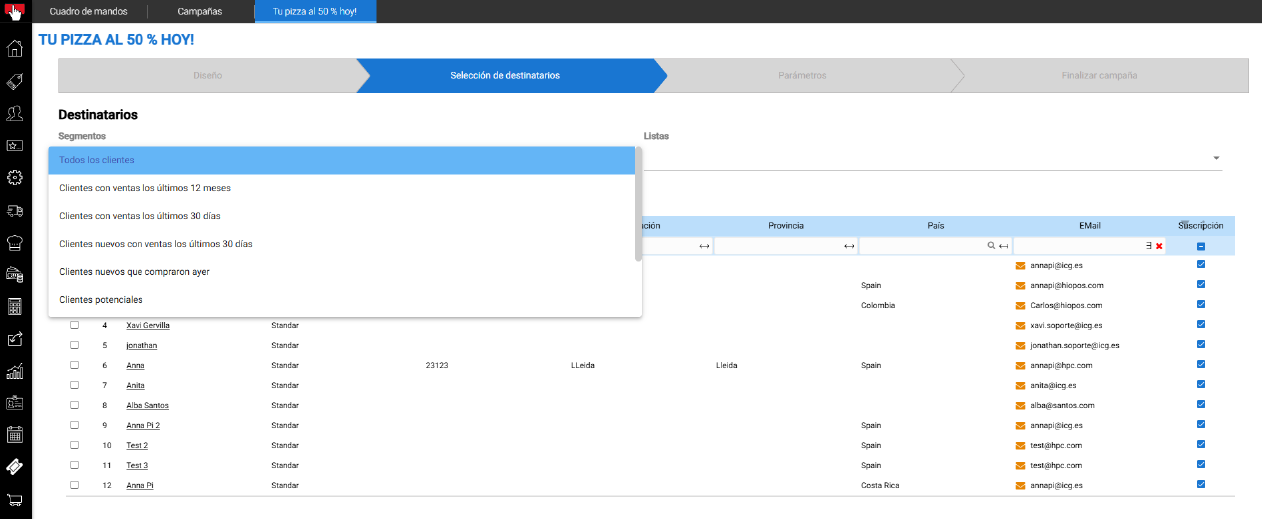
Once created, the campaign recipients must be selected. Select the default lists or create custom lists to automate sends. Select the clients in this step and click next.
Custom mailing lists can be created in the Campaigns -> Mailing Lists tab. Once created, they will be available for use in campaigns.
Next, the parameters of the email to be sent must be detailed.: sender, recipient, subject... Each field allows you to specify a constant value or select a field from the dashboard (table) related.
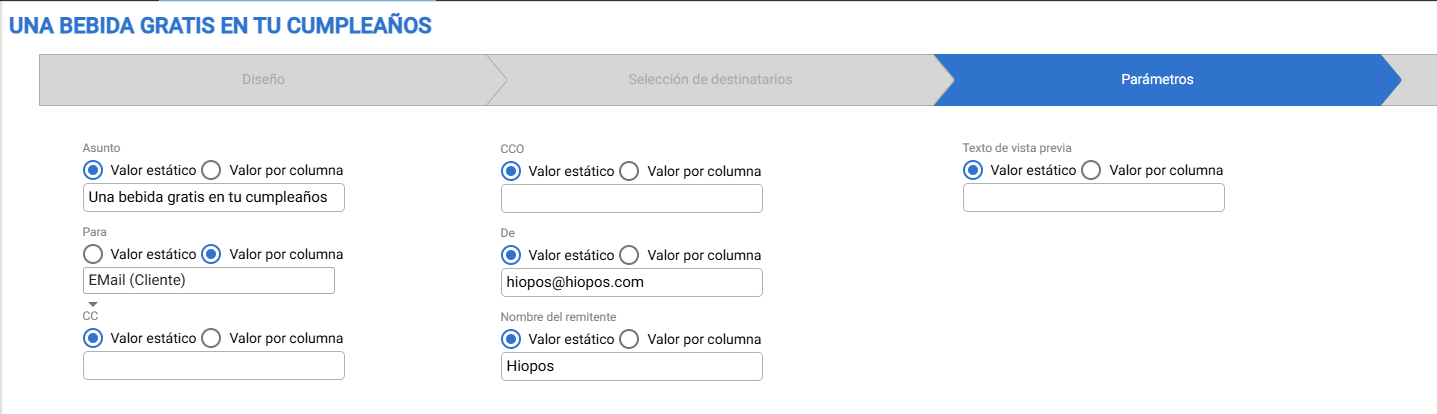
In the latter, you can select whether the campaign will be sent manually or schedule its automatic sending for a specific day and time.
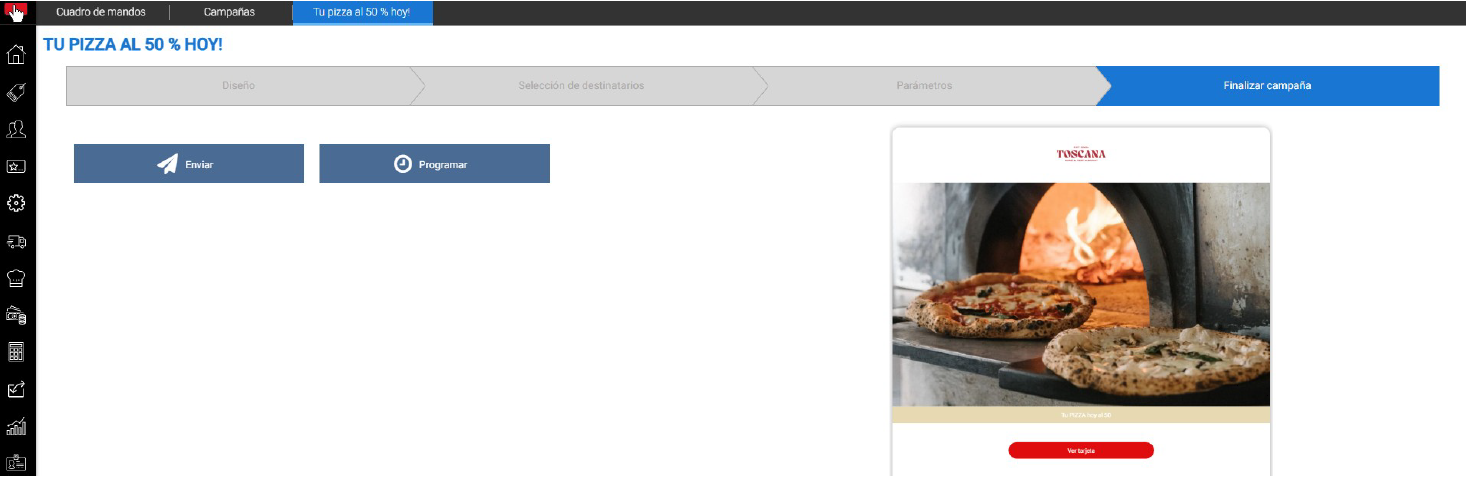
If you wish to schedule a date, the Task Scheduler will open where the automatic sending will be defined for a specific day and time, in addition to indicating the emails that should be notified if it is sent correctly or if there is an execution error.
At the top of the programmer, you can disable this function with a checkbox.

AI Assistant
Section summary
AI can generate inaccurate information; verify the results.