En esta sección
Establishments
The first thing displayed when entering Establishments settings is a selector from which you can filter by code, name, address, and city.
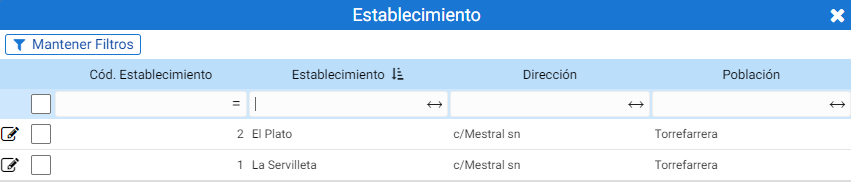
The 'Keep Filters' button will set the filter applied in the search so that it is considered the next time this screen is accessed.
Double-clicking on the establishment opens its record. The first thing you see on this screen is the header, where you can specify the establishment's name, its logo, and the NIF.
Below the header are the fields that define the establishment, divided into four tabs:
- Basic Information
- Configuration
- Terminals
- Salas
- Email design
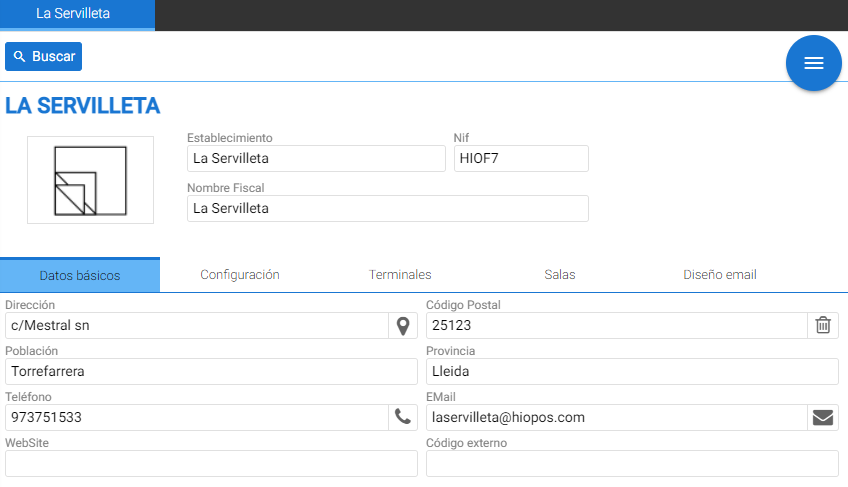
Basic information:
It contains the address, phone number, and email address of the venue.
Settings:
The tab that defines the default parameters for this establishment is Configuration. The various options that can be found in this section are detailed below.
The first thing you see is the [Properties] section: here you can assign the store group to which this establishment belongs, below there is a field to indicate the cash cutoff time which will define the change of day for cash reconciliations, further down is the field that will contain the default customer for this establishment and a button that enables/disables the use of packaging management.
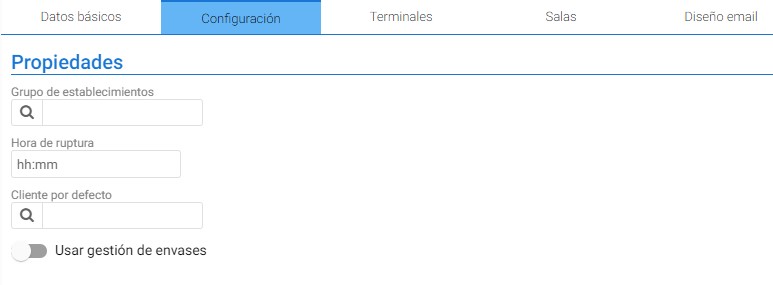
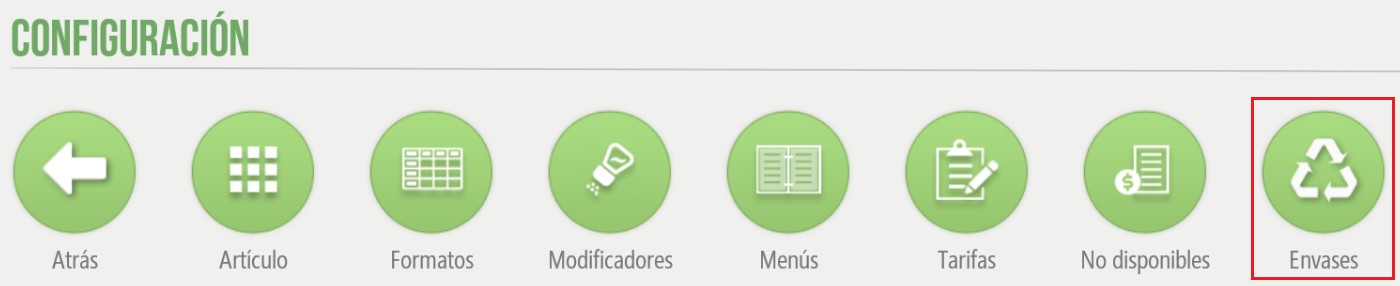
The 'Use packaging management' checkbox will display the 'Packaging' button in the HioPOS point of sale. This is a feature available in versions 6 and later that facilitates the separation and return of packaging to the distributor.

The next configurable field is the [Box] which allows marking an external fund as petty cash: this is the fund that contains cash intended to cover extraordinary short-term requirements, such as when an establishment runs out of change when collecting payment and different denominations of cash are needed to return the remaining amount to the customer.


In the [Shared Resources] section, it can be indicated, if desired, that pending sales will be shared with all terminals in the establishment, allowing a sale from one terminal to be completed from another.
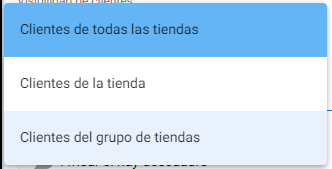
Below is a selector to distinguish the customers of this establishment from others, or to differentiate them by group of establishments.

The 'Use local server' button is applicable from HioPOS version 6 onwards and serves to assign the Server Terminal role to the main POS. This way, pending sales will be saved on that establishment, and in case of losing connection with the central server, access to these orders is not lost. To configure this option, it is necessary to indicate the address of the POS that will act as a server via an IP and port:

The next section of the settings is the [Cash Count], where it specifies that it sends by Email, that an alert pops up in case of a discrepancy, and the minimum discrepancy amount:

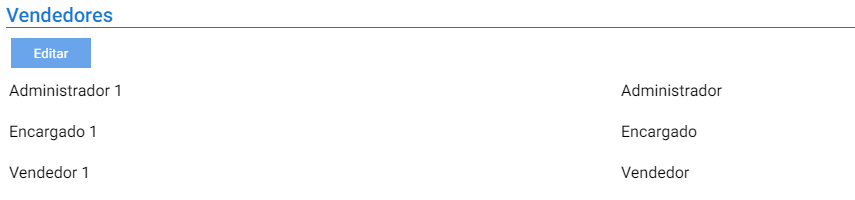
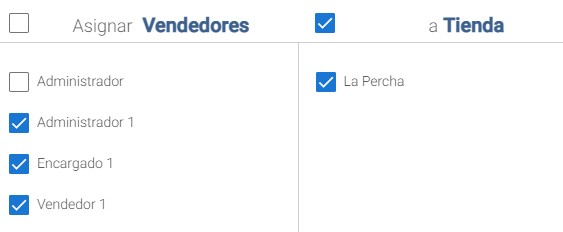
Under [Vendors], the employees who have access to the store are assigned:
In [Rates and Currencies], which will be visible at the establishment's premises, the ones that will be shown by default are also indicated here:


Then the Sales, Delivery (Take Away), and Purchase taxes are configured:

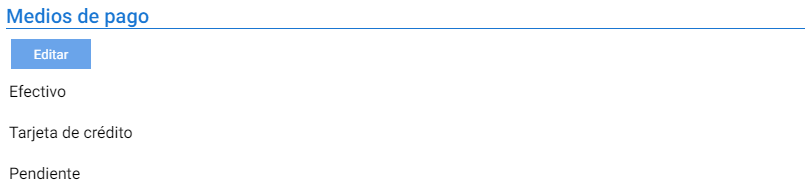
The [Payment Methods] filter is like the Vendors or Fees. The Edit button opens a pop-up screen where you must select the visible payment methods.
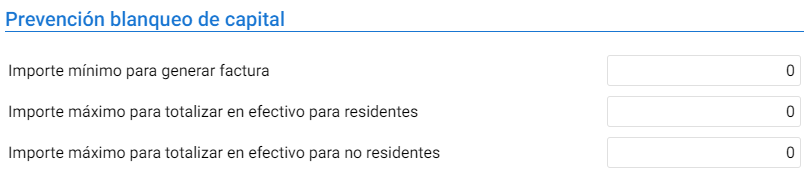
Below the Payment Methods is the configuration of the parameters for [Money Laundering Prevention], where you can define the minimum amount for which an invoice must be mandatorily generated, as well as the maximum amount allowed to complete a sale in Cash.
The rest of the filters in the Establishment Settings are for indicating the visible values from the selector that opens with the Edit button.
[Card Types] for the types of loyalty cards that can be used in this establishment. On page 191, it explains how to configure loyalty.

[Discount Reasons] for the reasons defined in Settings – Discount Reasons.

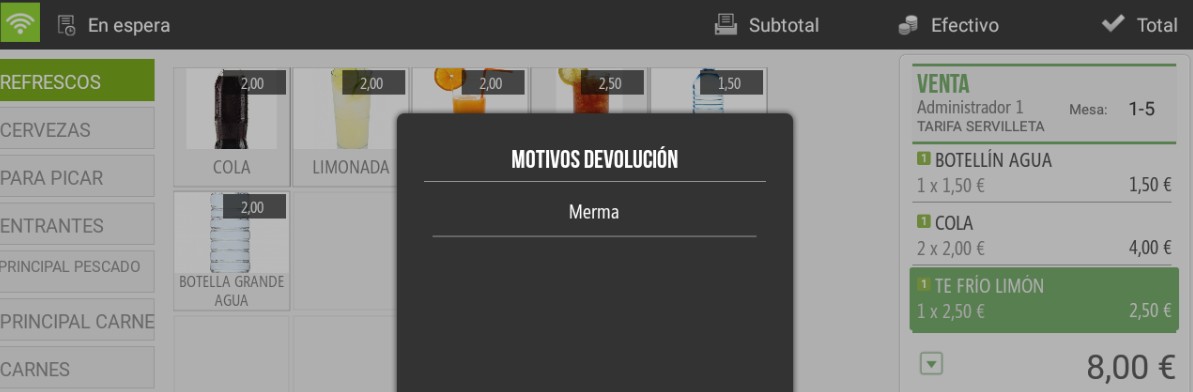
[Return Reasons] that are defined in Configuration – Return Reasons. These will be requested in HioPos when crediting a line item of a sale.

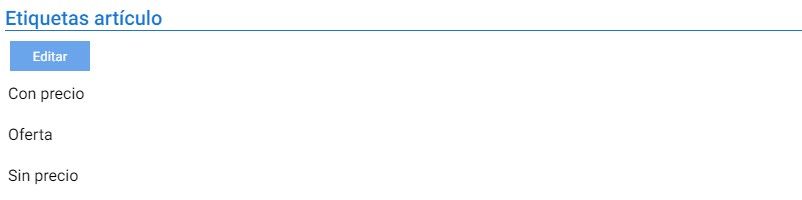
[Item Labels] allows you to select from three different types of labels for printing them from the store: With Price, Sale, and Without Price.
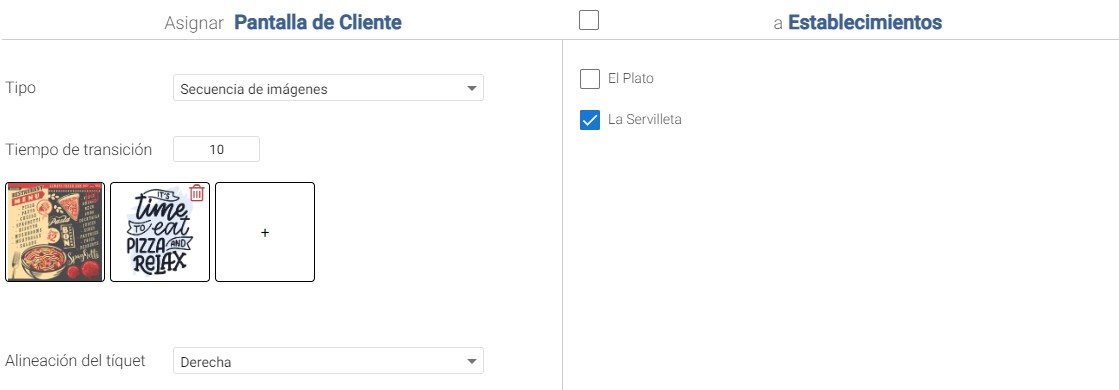
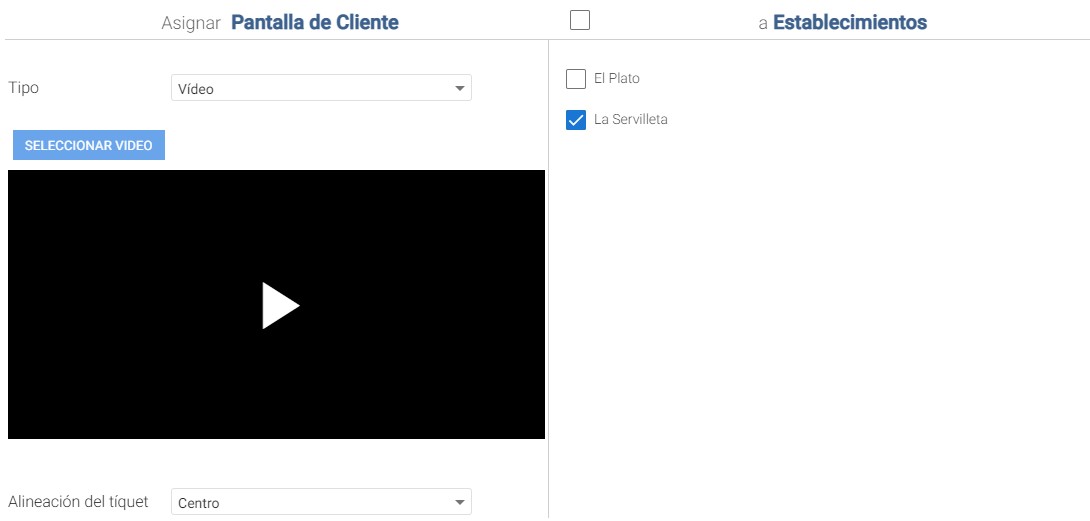
If the Image Sequence type is selected, the button to add images and the "Transition Time" field are activated, which allows you to specify, in seconds, the time it takes for one image to change to the next.
The Video type allows you to choose a video from the device and displays the selected video on screen:
[Service type] Offers two possible options: Home Delivery and Pickup, in addition to a refresh time indicator, in seconds, to locate the delivery person's position on the map (Geolocation).
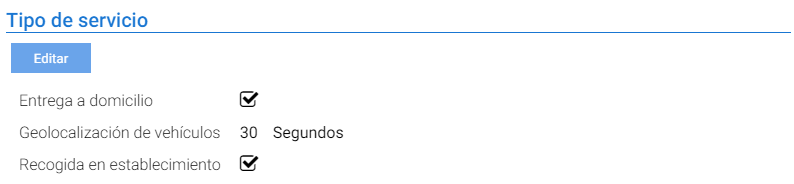
When activating the “Home delivery” Service Type, two new options are displayed in the Establishments' settings:
- [Vehicles]
- Zones
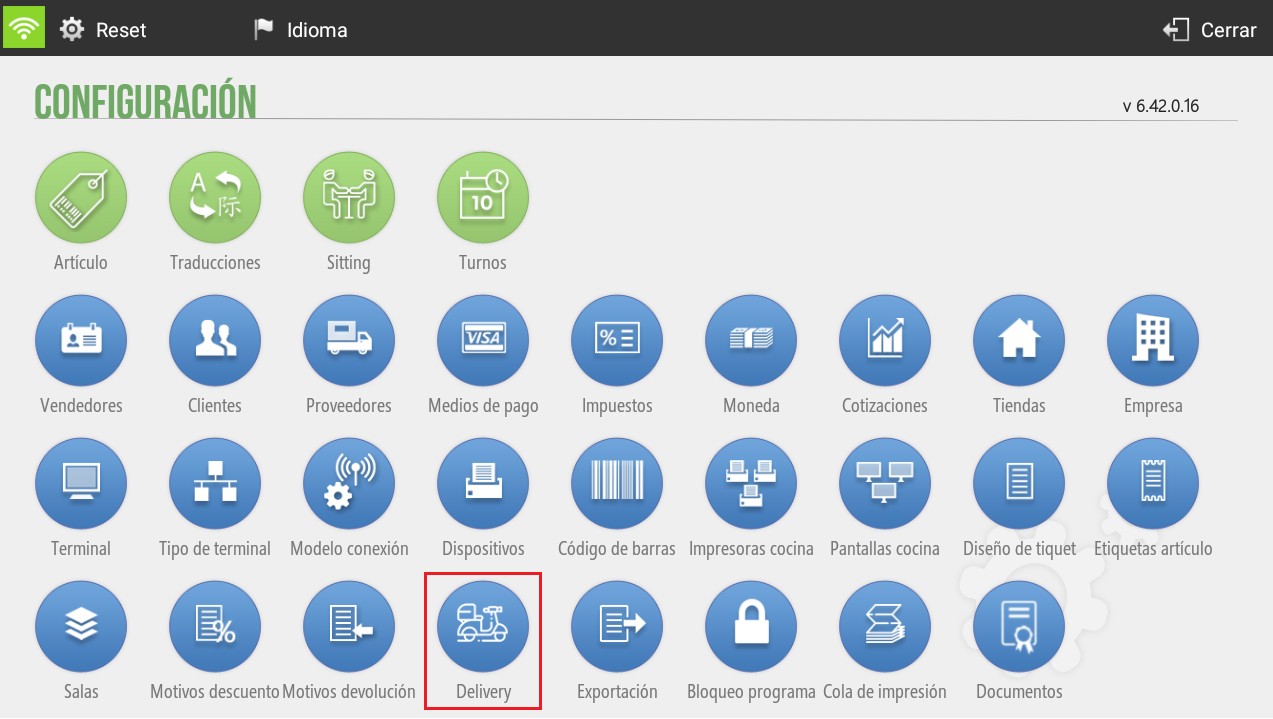
Both Vehicles and Zones must be defined in Hiopos within the Delivery menu and can be selected here.

Terminals:
The parameters for the terminals associated with this establishment must be configured in this section. From here, the terminal type is specified, in addition to defining the sales, purchase, and shrinkage warehouses.

Although warehouse selectors do not allow direct input or creation of new warehouses, from the magnifying glass button, you can search for an existing one or navigate to the new warehouse creation tab.
Four internal tabs separate the series configuration, the default rate (under Default Value), kitchen situations, and connection parameters with the Cashdro.
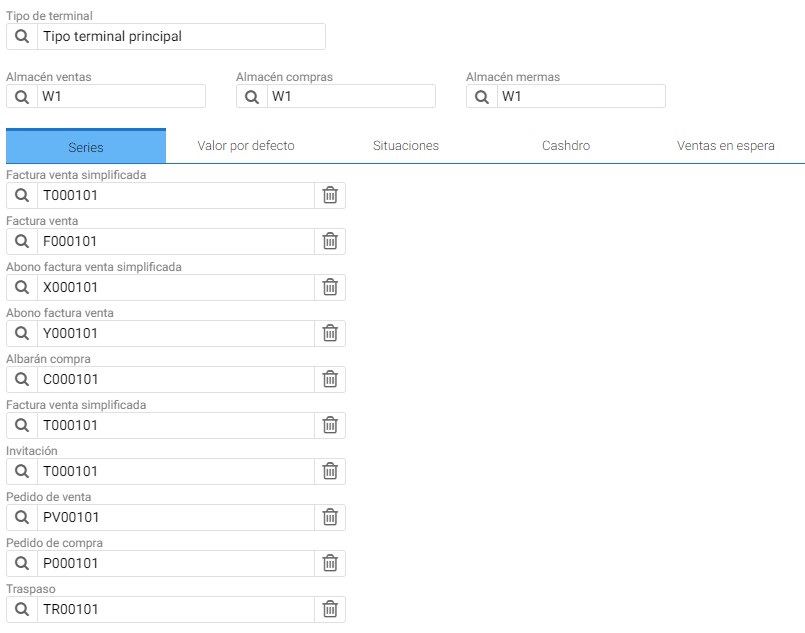
[Series]
The series defined in this section are completed by default with the establishment code and the terminal code, with a letter in the first digit that distinguishes the type of document.
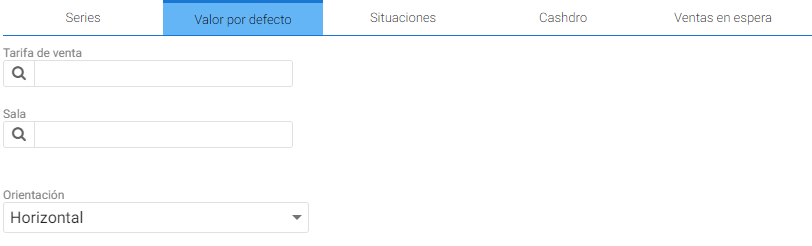
Default value
This tab contains the terminal's default rate selector, the Room, and the screen's orientation.
When changing the orientation, the POS displays a warning that the application must be restarted, and upon re-accessing it, it is shown with the new orientation.
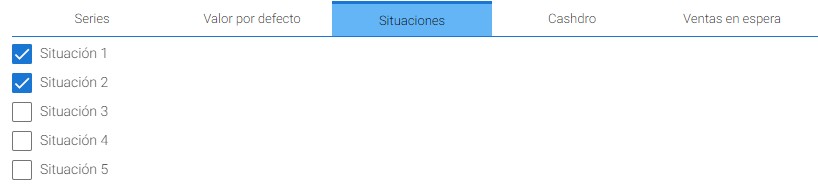
Situations
The program offers by default up to 20 kitchen situations; here, the ones to be used on the terminal must be activated.
Cashdro
Only for those terminals that point to a CashDro self-checkout machine.

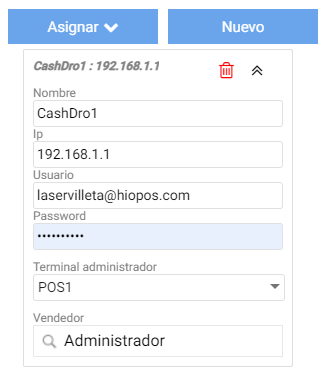
When adding one with the New button, the fields that must be completed are: Name, IP, User, Password, Administrator terminal, and Vendor
The trash can-shaped button allows you to delete the CashDro assigned to this terminal.
Sales on hold
The program's behavior configuration when putting an order on hold: Whether the alias to identify this sale is proposed automatically or not.

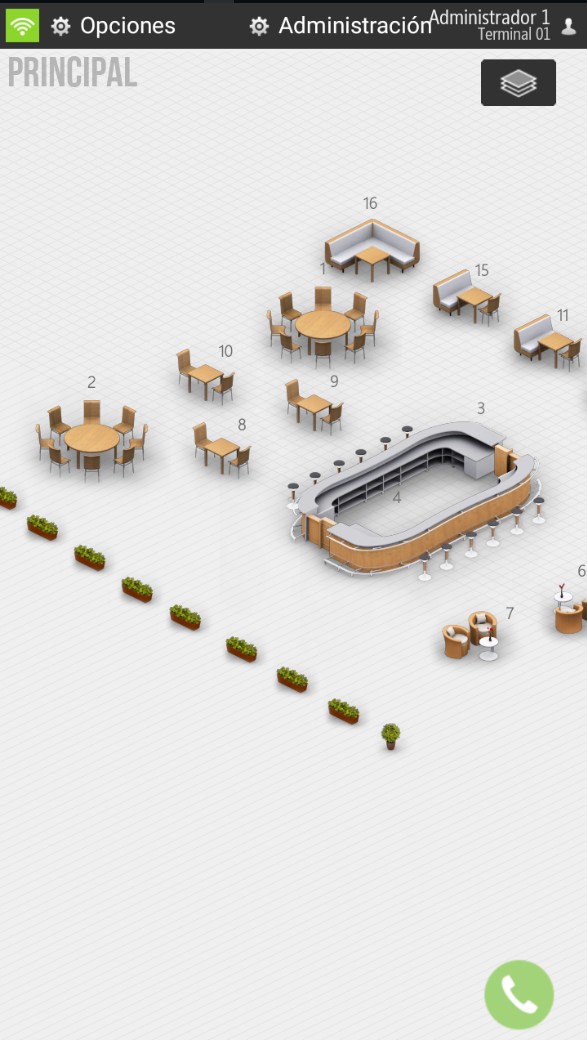
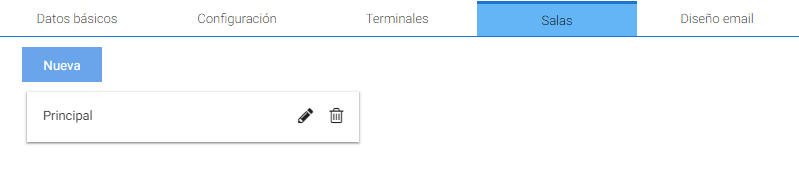
Salas:
This tab of the Establishment settings contains the Room assignment.
It features the Room creation button, labeled "New", as well as icons to edit or delete an existing room.
When accessing room editing, the same creation tool that Hiopos provides opens:
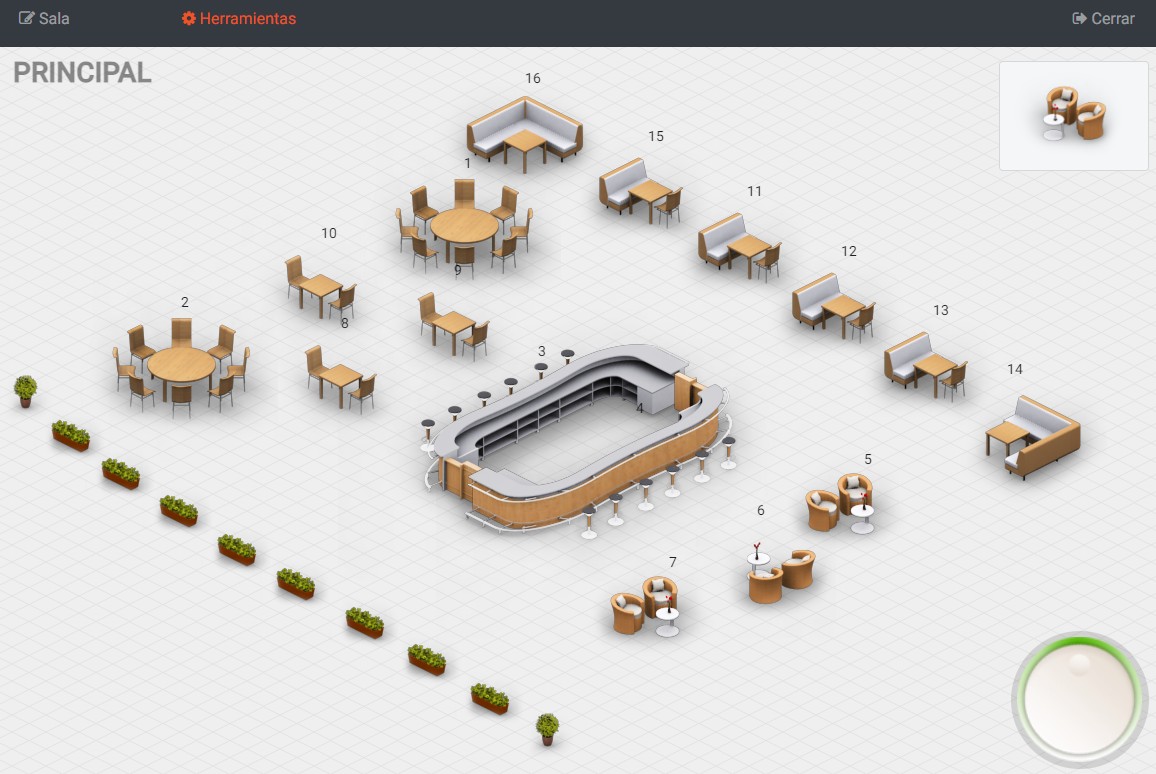
In this window, there is an object selector to add the tables, bars, and aesthetic elements that make up the room.
At the top are the Properties and Tools of the room.

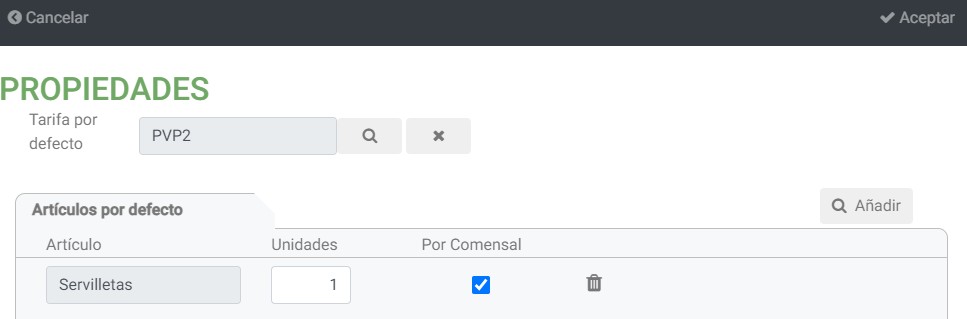
In the Properties option, a rate and default items can be assigned to the room.
The [Tools] button activates the selection of table, bar, or decorative elements.
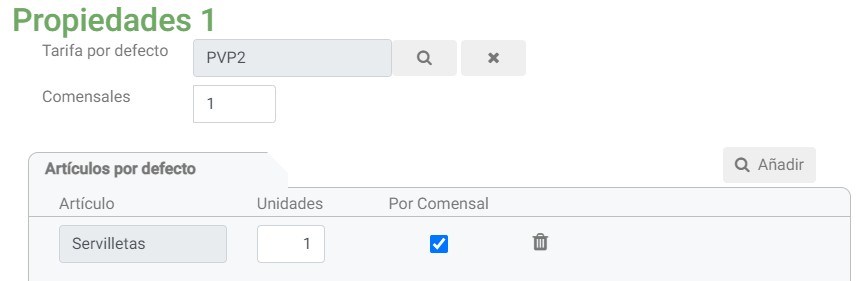
By right-clicking on a table, it is possible to access the properties of this element and associate a default rate or items only with that table.

Email design:
Just like the [Email Design] configuration found in Cloudlicense itself within the establishment's record.
This option enables the automatic sending of the ticket by email when a sale is completed.
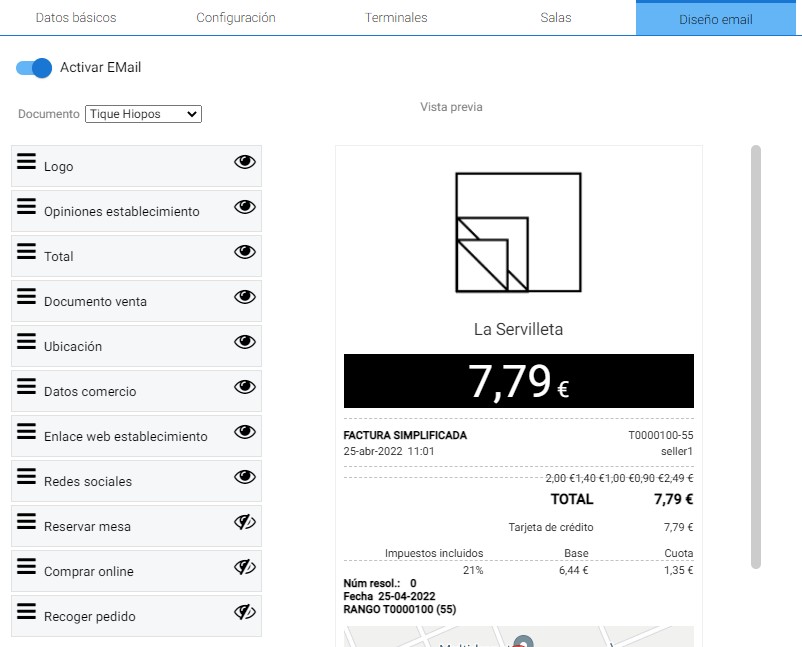
Upon activating this function, a dropdown menu is enabled where you can select the document to configure, depending on whether it is the Hiopos Ticket or the PortalRest Order.
The elements that the design can contain are to the left of the example image, the icon with three lines allows you to select and move each block and with the eye icon, you enable the visibility of each one.
The PortalRest Order includes, in addition to the Hiopos Ticket design fields, those for home delivery sales.
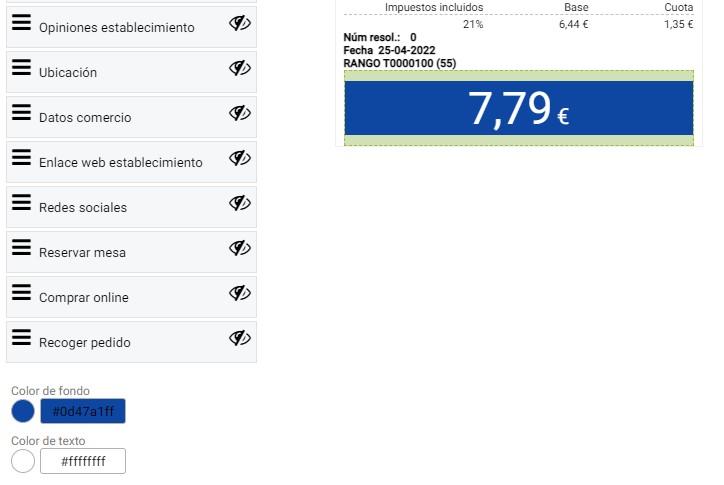
By selecting the Total field in the design, the background and text color modification is activated, as shown in the following screenshot.
AI Assistant
Section summary
AI can generate inaccurate information; verify the results.