En esta sección
Quick article creation
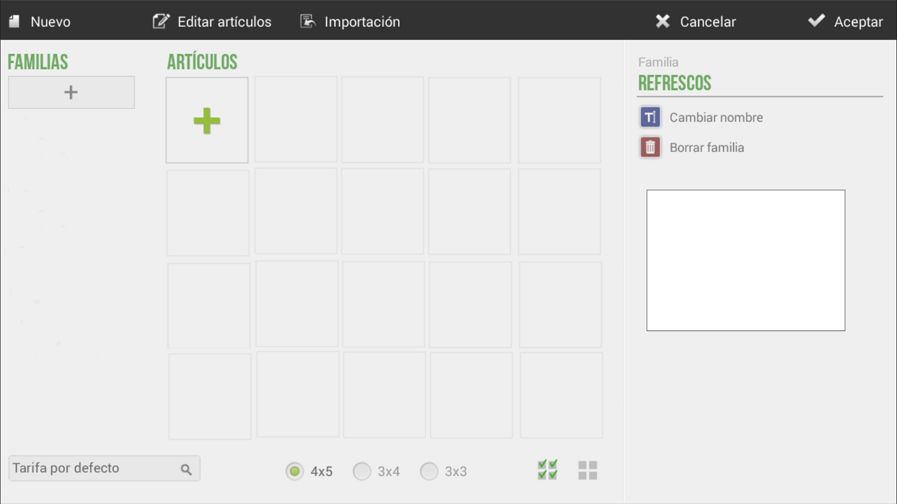
HioPOS Cloud organizes items into three main levels, these are Family, Subfamily, and Item. To create new items, you must first create a New family.

Once we have created the new family and given it a name, we can create a New subfamily and/or article or Edit articles.

We can also create families, subfamilies, and items using the + buttons.
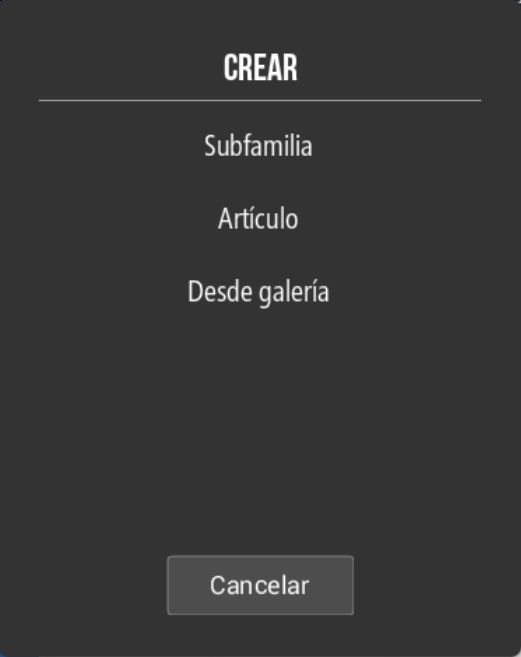
If we select the '+ Items' button, the following options will appear:
From the bottom, we can determine the size of the item grid that will be displayed on the sales screen.

New articles
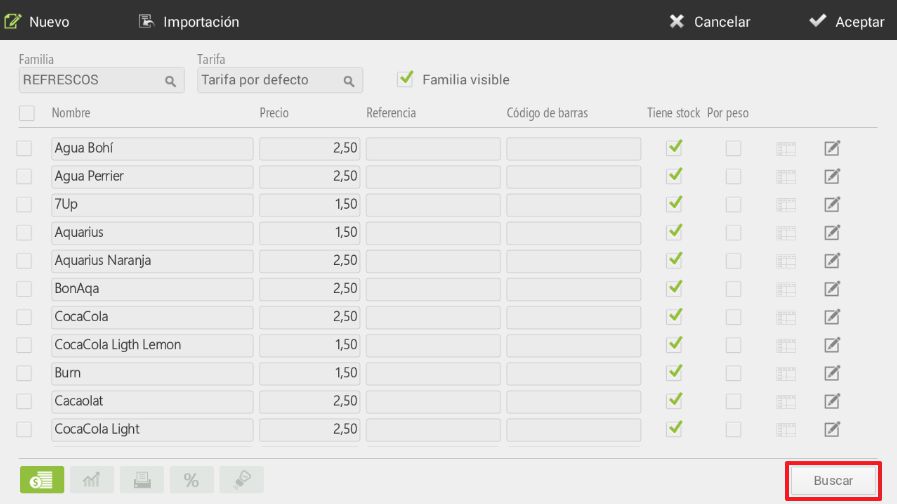
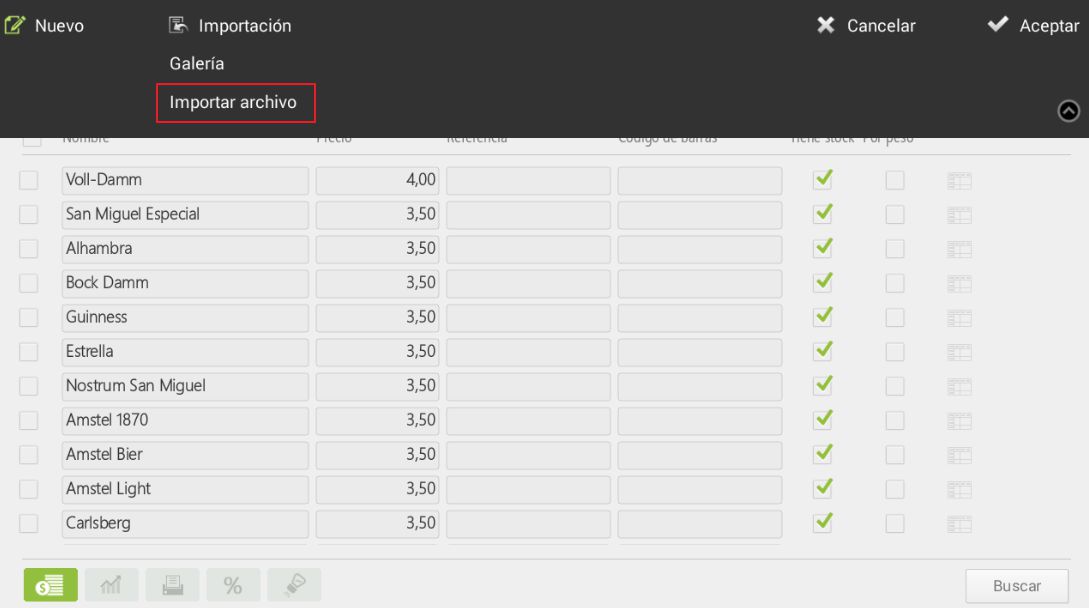
On the item editing screen, we can create a New item and configure its Price, Reference, and Barcode settings, also setting whether it has stock and if it is a weighted item.

On the article editing screen, you can select from the top menu the family whose articles you want to edit, as well as the rate you wish to modify. You can select if you want this family to be visible on the sales screen.
The option Import, Gallery offers us databases of items with images that come pre-configured in HioPOS Cloud to facilitate installation and setup, also to more easily organize the images of the items we are editing.

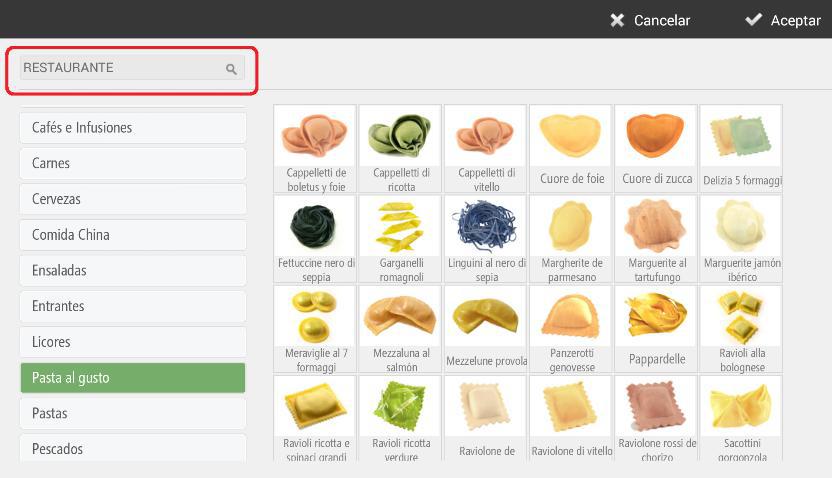
Select your Type of business And within this, you will find the corresponding families based on your initial selection, as well as their items. Select those items you wish to add. HioPOS Cloud includes a wide variety of businesses created by default, which will allow you to configure your terminal with great ease and speed.
To modify more than one item at a time, simply check the initial boxes of each item you wish to modify, then proceed with the modification.

You can also search for articles, using the Search button in the bottom right corner, to directly select the article we want.
Margin calculation
The second option at the bottom of the screen allows us to calculate margins.

This option is designed for you to set product prices according to their cost and the margin, in real or absolute value, that you wish to obtain.
First, we will input the product's cost. To this cost, we will add the desired profit margin from its sale; the margin can be a fixed amount or a percentage of the product's cost. Once the margin has been added, the software will suggest the price at which we should sell it.
We can always modify this price, as well as the other options, to be able to offer the price that aligns with the margins that interest us most.
As you enter purchases in HioPOS Cloud at a different price than the one set in this section, the cost of the items will be updated.
Configuration of cooking scenarios
If kitchen printers are available, the third option on the screen allows us to choose which printer the item should be printed on in the kitchen.

The settings for kitchen printers can be found in the section for Settings, Kitchen printers.
To add more printers, you must access CloudLicense through the Modules sub-section.
Tax Configuration
The fourth option at the bottom of the screen allows us to assign a tax to each item.
If the items have different taxes, assign on this screen to each item its corresponding sales tax, the one for Take away (for takeout) if it's different and the purchase tax.
It can also be configured to be an EBT item, in case you work with government-subsidized items. If you are unfamiliar with the meaning of EBT, it means it is not applicable to your business.
If the same tax is applied to all items in the store, it is not necessary to assign the tax item by item in item editing, as you can configure at the store level the tax that should be applied to all items. To do this, once the installation process is finished, assign the default tax in the Default Taxes section of the Store configuration.

Multiple Tax Configuration
HioPOS Cloud allows adding more than one tax to items, allowing them to be accumulated or not. The configuration of these will be done through the Taxes section of Configuration, by selecting the option New tax.
Once the creation of taxes has been configured, the user must apply them to the items that they wish by going to Settings, Articles, Edit articles And we will select the fourth section (%) from the bottom left margin, which we frame in the following image.


Once the per-item taxes are configured, we attach as an image the sales receipt for the item configured with the two taxes. We observe that two types are applied, the first being the 21% VAT and the second, the 1% additional tax.

AI Assistant
Section summary
AI can generate inaccurate information; verify the results.