Sales Query
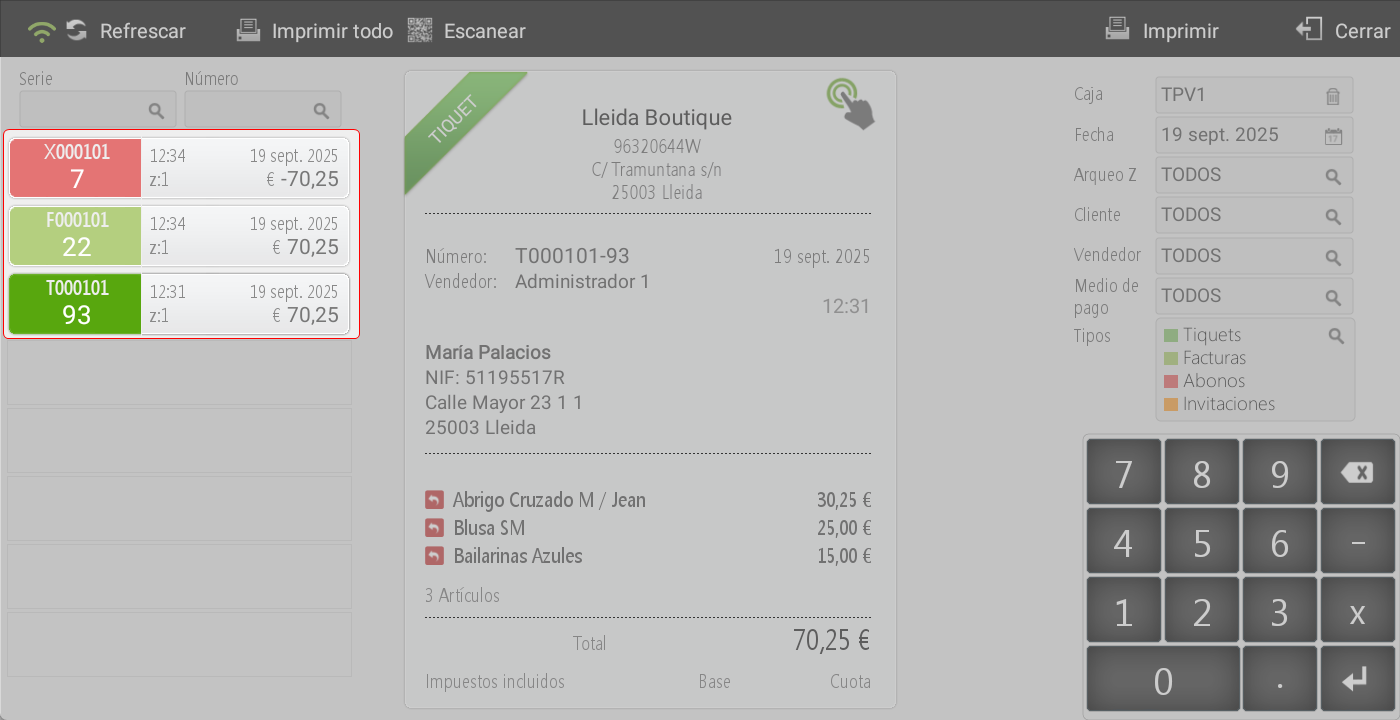
When selecting the option Sales, a screen will open, composed of different sections, each with specific functions:
Top bar
Refresh: Update the visible information on the screen.
Print allPrints all available documents according to the applied filters.
Scan: activates the device's camera to locate a ticket using a QR code or barcode, avoiding manual search.
Print: Print only the selected document.

Left panel
Quick search: at the top there is a filter to locate documents by series, number, or by both criteria.
Sales list: below the filter, the list of all sales made on the current day is displayed by default.
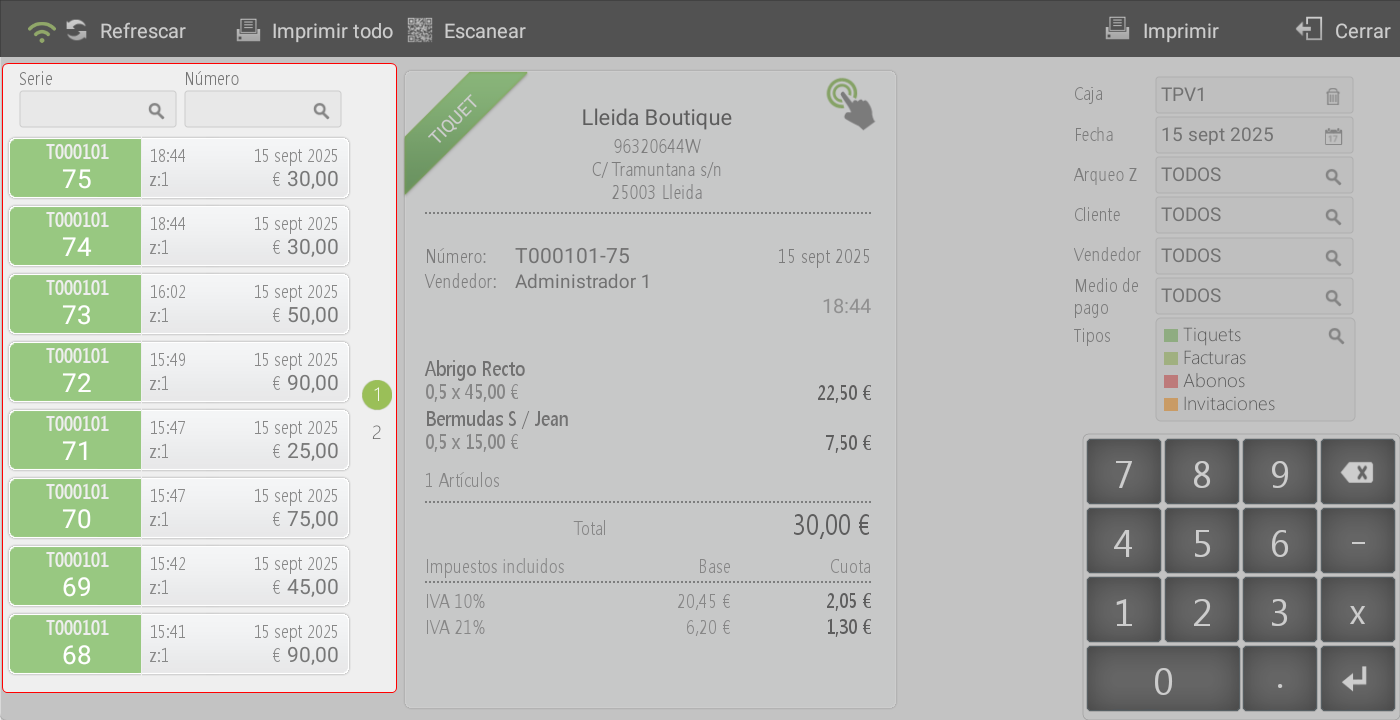
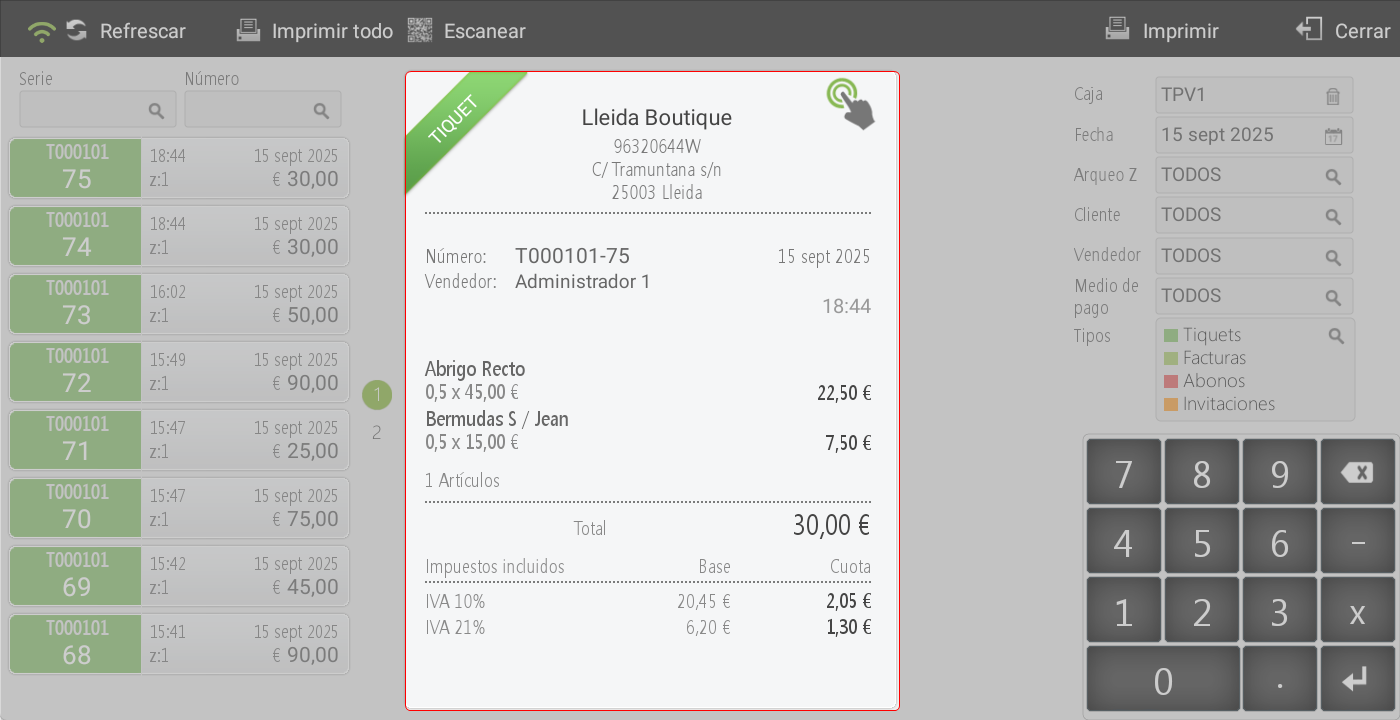
Central area
Document Visualization: here the full details of the selected sales document are displayed.
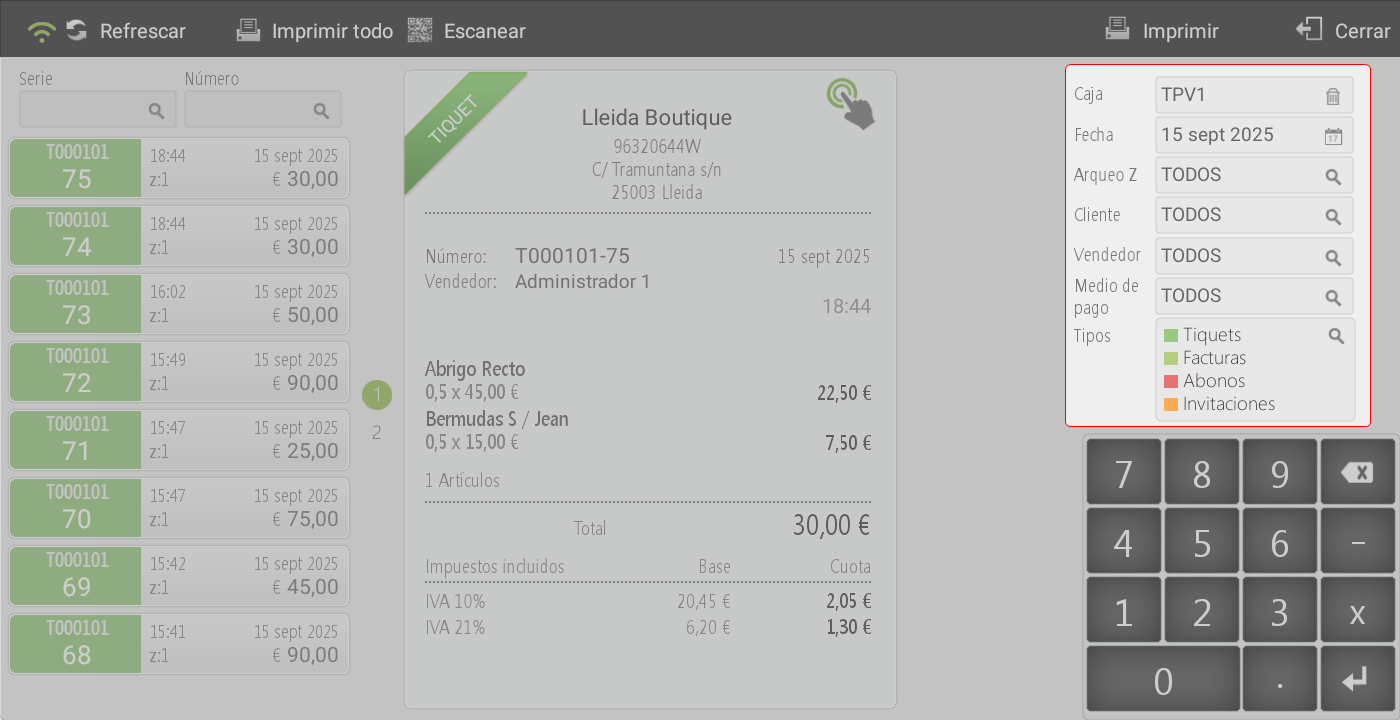
Right panel (advanced filters)
Allows refining the document search by applying different criteria:
Box: displays, by default, the sales associated with the till of the terminal in use. If the user has permissions, they can view the sales from other tills.
Date: the current day is set by default, although it can be filtered by day, week, month, year, or by a specific date range.
Archaeo Z: locates documents based on an inventory number.
Client: allows filtering sales corresponding to a particular customer.
Seller: displays the sales associated with the selected employee.
Means of payment: filter sales according to the payment method recorded in each document.
Types of documents: by default, all tickets, invoices, credit notes (for tickets and invoices), and invitations are included. The user can specifically apply the filter to one or more document types.
Sales document management
When clicking on a document on the screen, several options that can be applied to it are displayed:

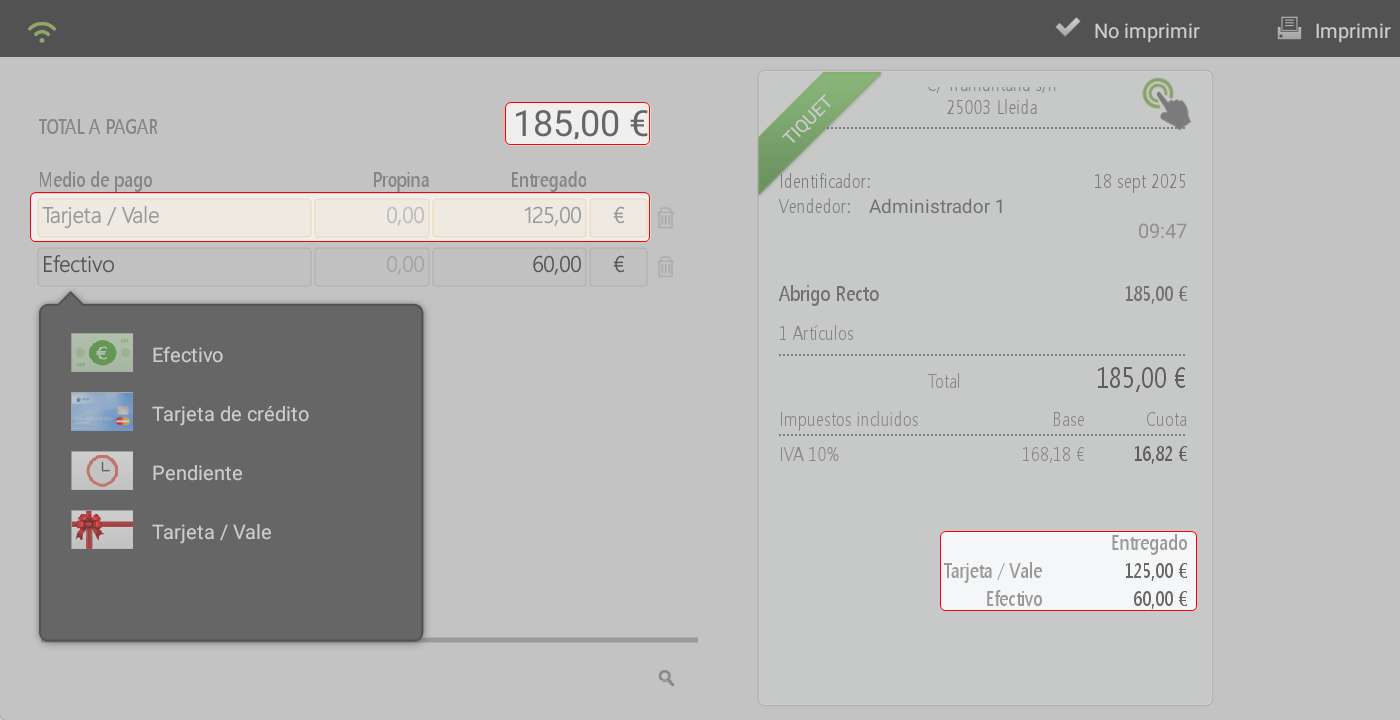
To pay:
Open the payments screen, where you can make a total or partial payment for the document.
At the top is the option Pay all, which allows all the document's items to be added to the left panel (credit note document).
The function Scan It allows posting items by scanning a barcode or QR code, without needing to select them manually in the document.
Cancel: interrupts the process and returns to the sales inquiry screen.

Once the items to be paid for have been selected, you must press Accept To continue with the customer refund.
On the next screen, you will need to choose the method of payment with which the payment will be made.
Payments by voucher
Some businesses opt to issue the credit through a voucher, for the customer to use in a future purchase.
For this, the payment method must be available. Card/Voucher, which is created by default in the system.
To enable it, access: Settings > Stores > Payment methods And, check the box Gift Card/Voucher.
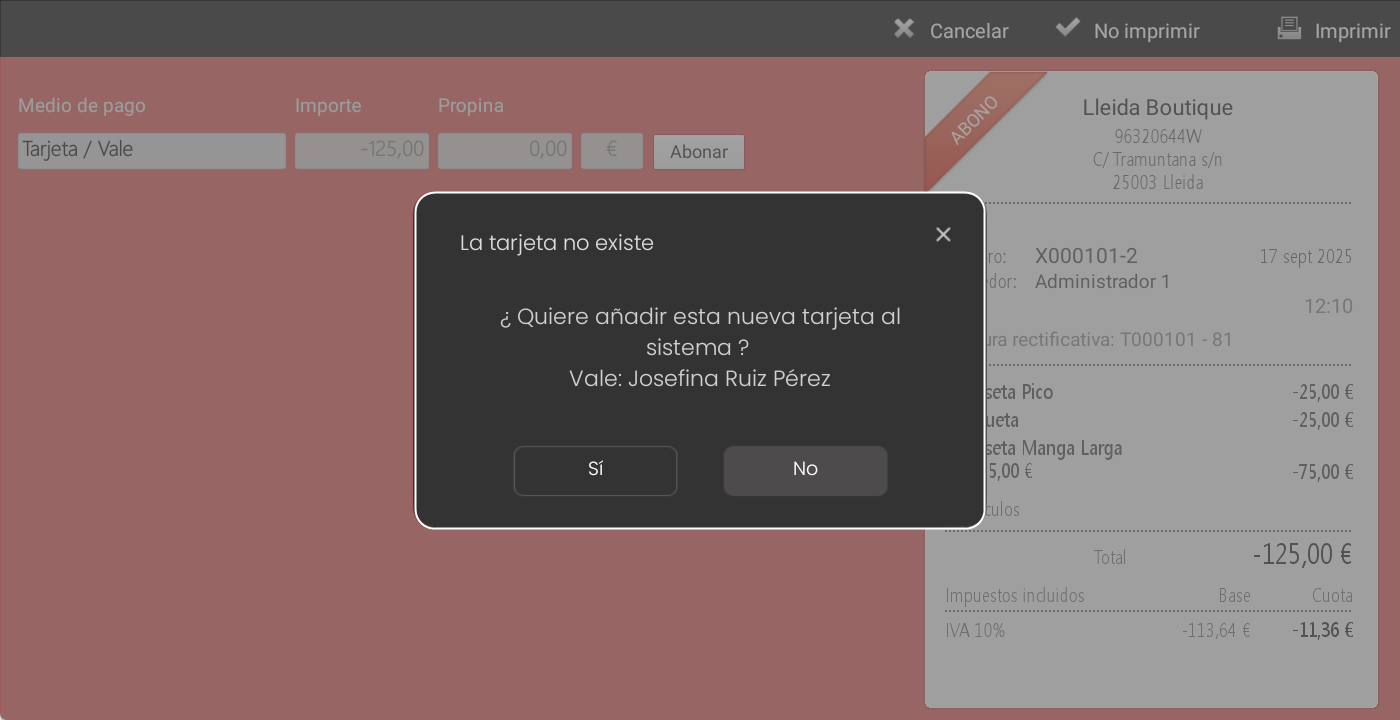
When selecting as a payment method Gift CardAlong with the amounts, the 'Credit' button will be activated; upon clicking it, the system offers 3 ways to generate the credit.
The icon print, opens a PopUp informing 'The card does not exist, would you like to add the card to the system? OK: (series/number of the Card/Voucher).
The button scanner, enables charging the subscription amount to the customer's loyalty card.
the keyboard, allows you to manually assign an identifier to the Card/Voucher, such as the client's name or phone number.
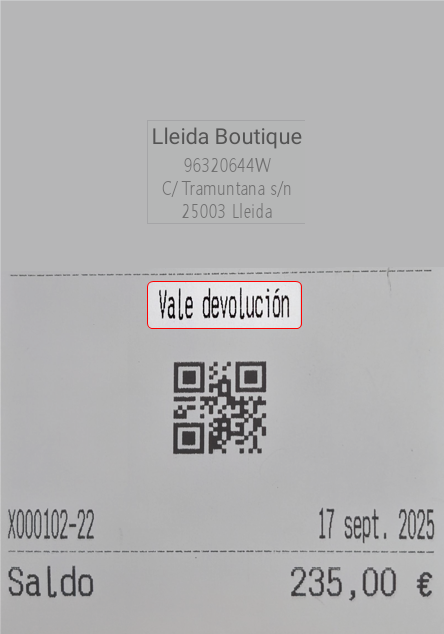
Upon processing the payment, a ticket will be printed. Card/Voucher with a QR code that the customer can use as a form of payment.
On your next purchase, when selecting as a payment method Gift Card/Voucher, a window will open to swipe the card through the reader, with the option to enter it manually via keyboard.
If the full amount is not consumed, the system will automatically generate a new document. Gift Card/Voucher with the remaining balance, maintaining the same series and number.
Invoice:
By default, sales in Hiopos generate a Sales receipt Simplified sales invoice.
If desired, from a ticket, one can issue a InvoiceBy selecting this option, the system automatically creates two documents: a credit note for the simplified sales invoice and the corresponding invoice. This avoids duplicating amounts.
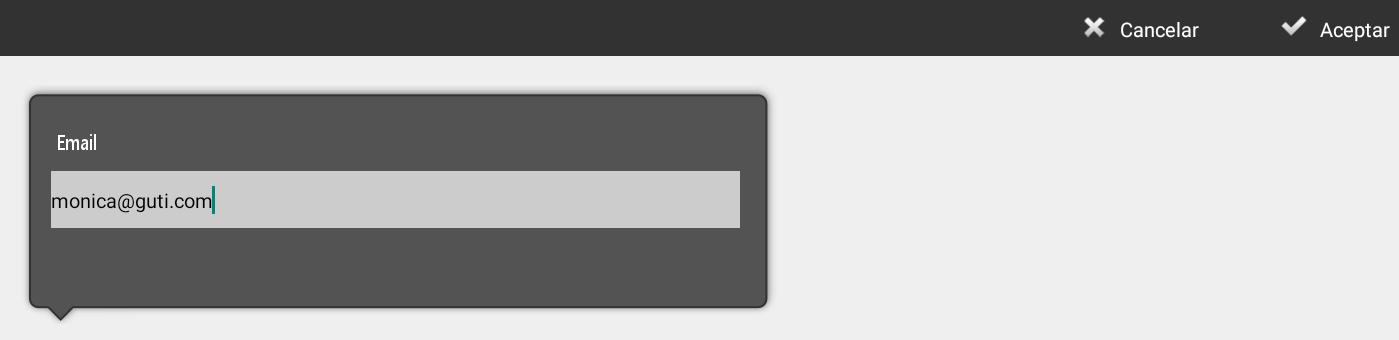
Send email:
If the client has the option enabled Send documents by email, when selecting this feature, the email field will auto-populate. However, you can modify it before sending.
Gift ticket:
Allows generating a document without showing amounts.
Clicking this option opens a screen to select the items that will be part of the gift receipt.
Once selected, press Print (located in the top right).
The system generates a Gift voucher with the selected items, but without prices.
This document retains the same series/number as the original ticket, allowing for refunds if the customer requests them.
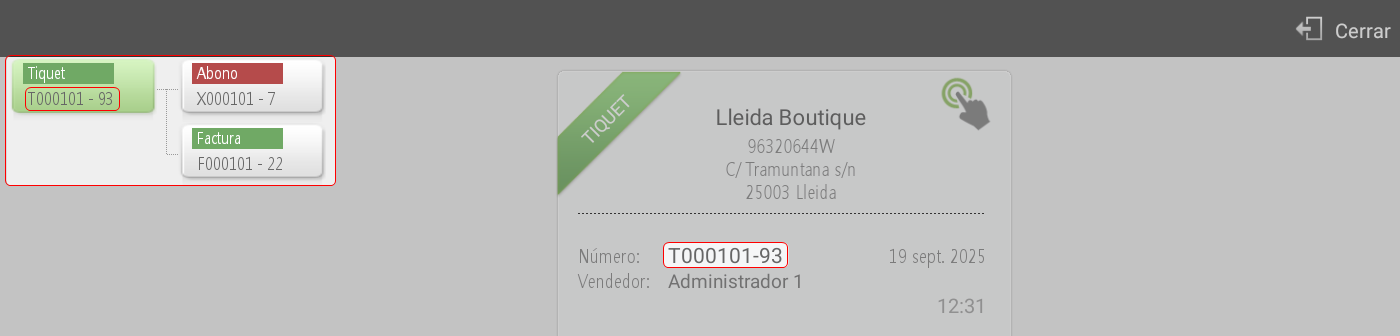
Trace:
Shows the traceability of the ticket, linking the related documents (ticket, credit note, and invoice).
Tip adjustment:
Allows assigning or adjusting the tip on a cash-paid ticket.
Reopen check:
Generate a full credit note for the ticket (with the option to print it or not). The system automatically returns to the sales screen, reloading the items into an editable ticket.
Client:
Allows to assign or modify the client associated with the ticket.
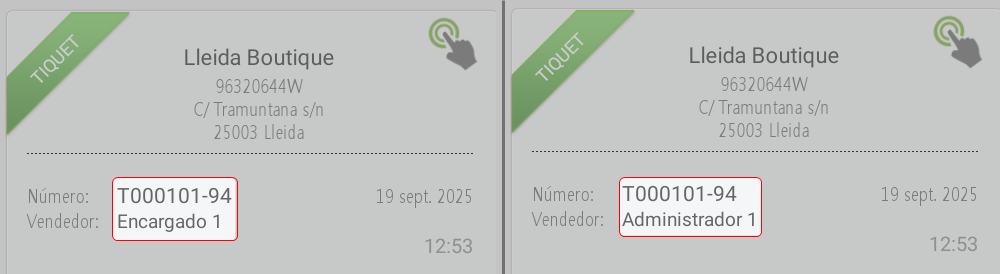
Seller:
Allows changing the main seller (cashier) linked to the ticket.
Print in another language:
It allows printing the ticket in any of the languages configured by default in the system. Some languages will only be printed if the printer is configured in graphics mode.
Update client data:
It allows updating the customer information associated with the ticket.
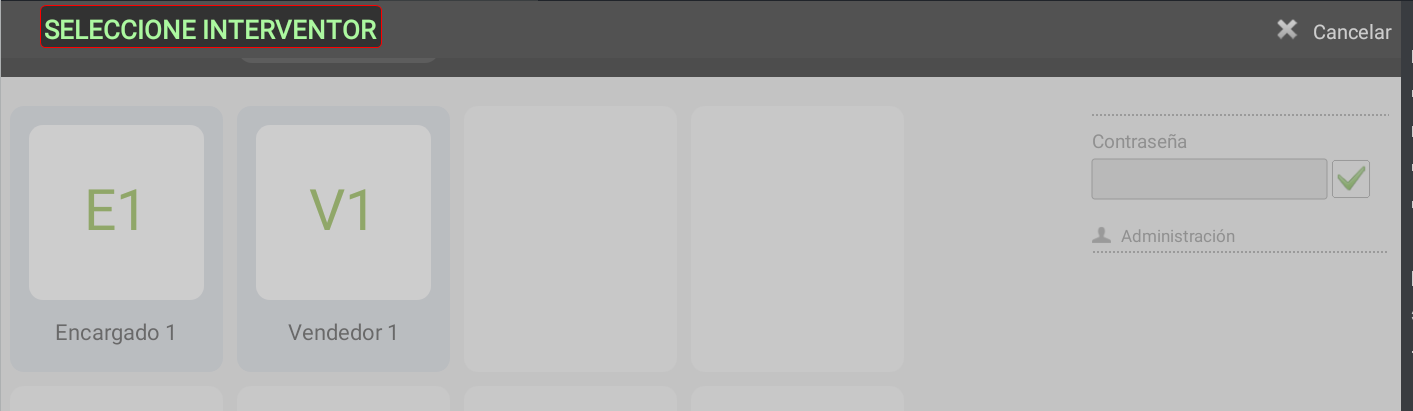
Intervention:
If an employee does not have permissions to perform any of the previous actions, by clicking this option they will be able to request the intervention of an employee with permissions to authorize the operation.
AI Assistant
Section summary
AI can generate inaccurate information; verify the results.