En esta sección
The screen of tables
If you have selected to work with tables in the Custom Configuration, HioPOS Cloud includes a 3D table display module, also allowing you to work with multiple rooms.
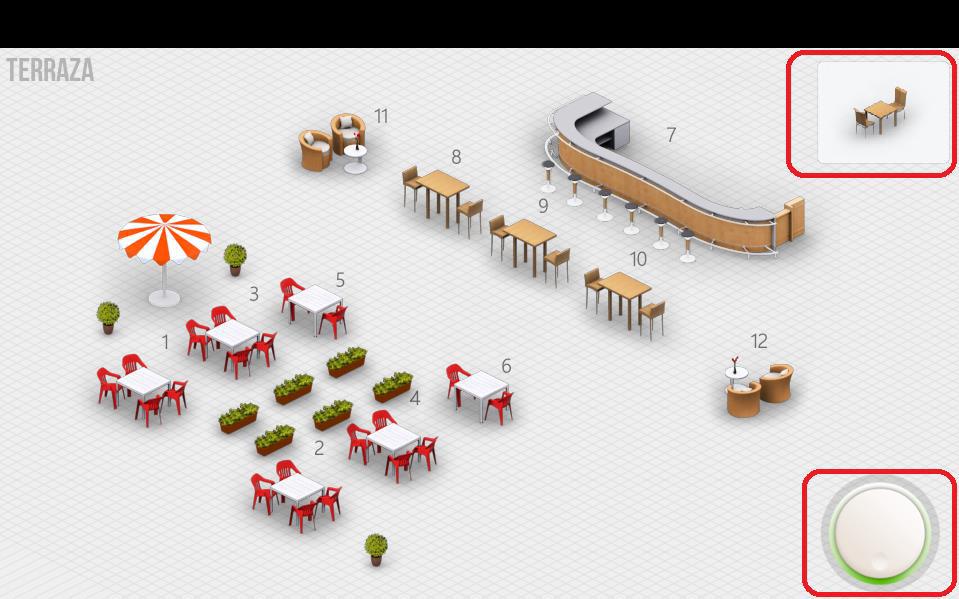
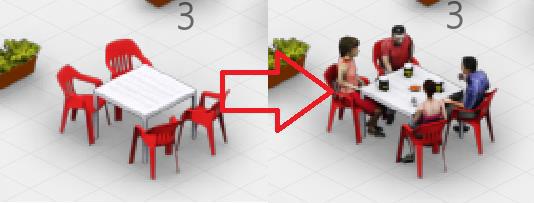
When selecting a table, the program takes us to the item selection screen, where we can add items to the ticket and put the sale back on hold. This time, the table will change from free to occupied. We can always return to that table's sale by clicking on it.
To move around a room, just tap the screen and drag your finger across the surface.
You can adjust the zoom on the screen using two fingers. Press two fingers on the screen and move them outwards or inwards to zoom in or out.
Modify the tables screen
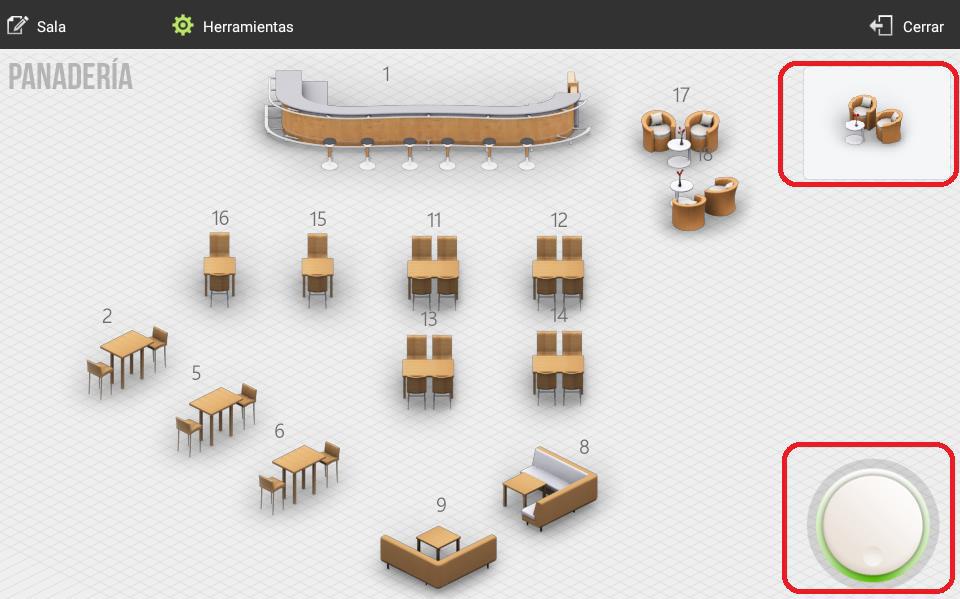
To access the table screen settings, go to the option Rooms inside of Settings.
The visualization you save on the table configuration screen will be the one that appears by default on the HioPOS tables screen.
The design tools are two: the add table selector (top right margin) and the orientation selector (bottom right margin).
To insert a new table or decorative element into the room, click on the option in the top right margin, and a list will open with all the items you can add.
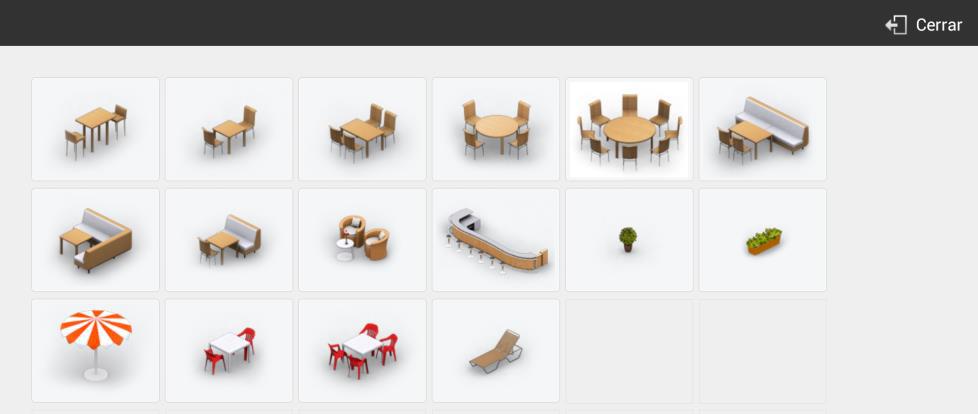
Select the type of table you want to add to the room layout. Once selected, you will see the table appear in the box above; drag it from that box to your desired location.
Once the item is placed, you can spin the wheel (bottom left) to change its orientation. When you have finished, press Close and save the changes you have made.
If after installation, you wish to design new rooms with different table layouts, you can do so in the Rooms section of the Configuration. In this case, you can also select which room should be displayed by default. To do this, go to the option Terminal of the menu Settings.
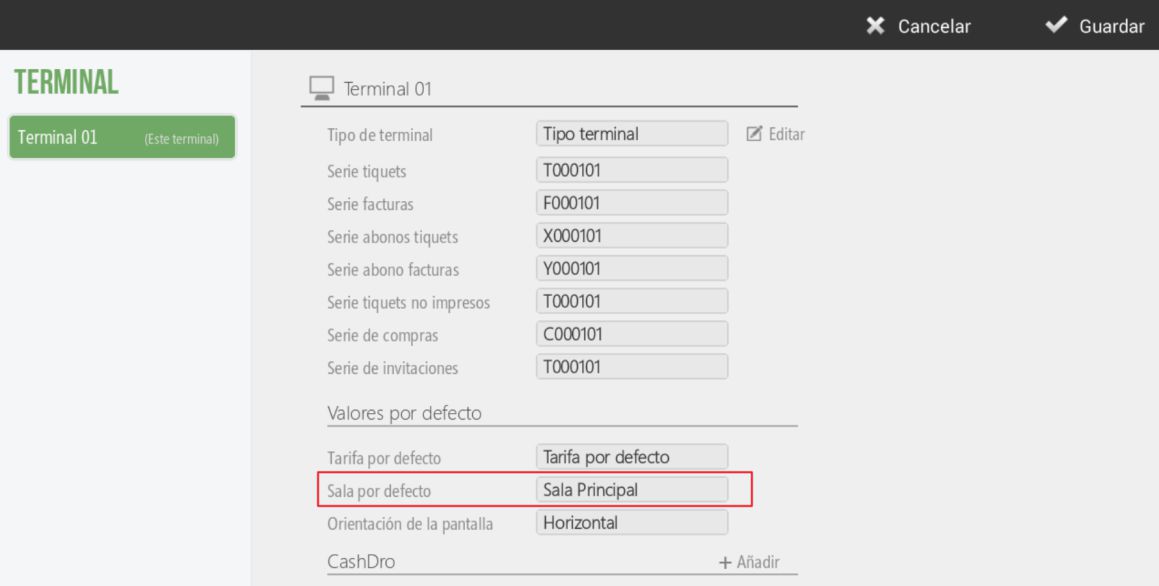
There we will select the checkbox Default room to then select that room which will be loaded every time we enter the tables screen.
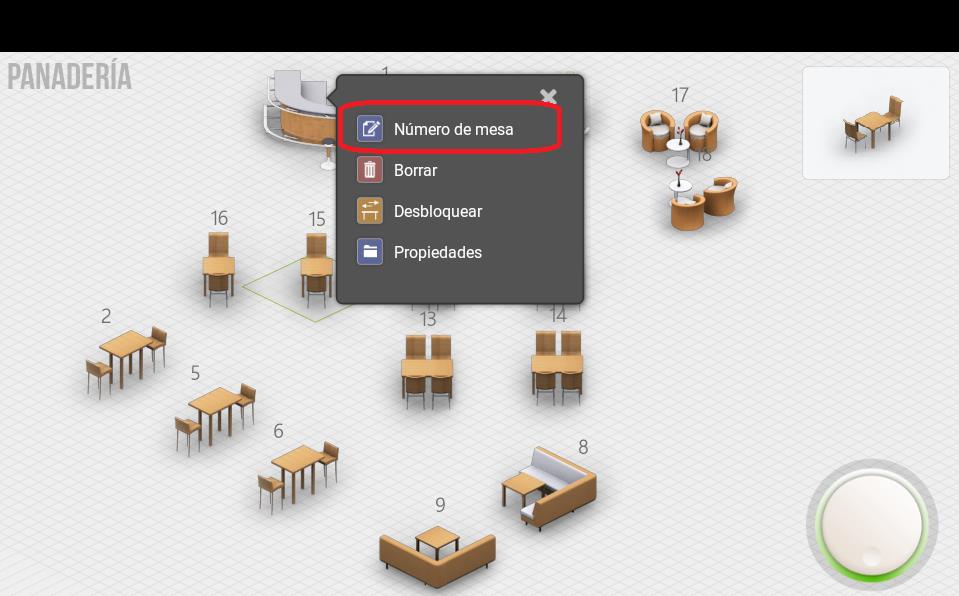
Change table numbering
Table numbering is added by default according to their creation order.
To change this value, it is necessary that, on the table modification screen, you press and hold on the table you wish to change and select the option Table number from the pop-up menu. We then enter the new table number.
The number to enter is free, so different tables can have the same number.
Blocked tables
Table locking is a feature that appears when we work with two or more terminals that use the same rooms.
A table is locked when Terminal 1 accesses it and adds items without finalizing or putting the sale on hold. Then, Terminal 2 cannot access that same table as it is locked by Terminal 1. When Terminal 1 finalizes the sale or puts it on hold, the other terminals will be able to access that previously locked table again.
It can happen that a terminal accesses a table to process items, but without putting the sale on hold and without finalizing it, this terminal turned off or did not reconnect. In this case, the table would remain indefinitely blocked until the terminal accessed it again to put it on hold or finalize the sale.
To unlock a table that is locked, we will have to press and hold on the locked table from the screen of Salas and select from the dropdown menu the option Unlock
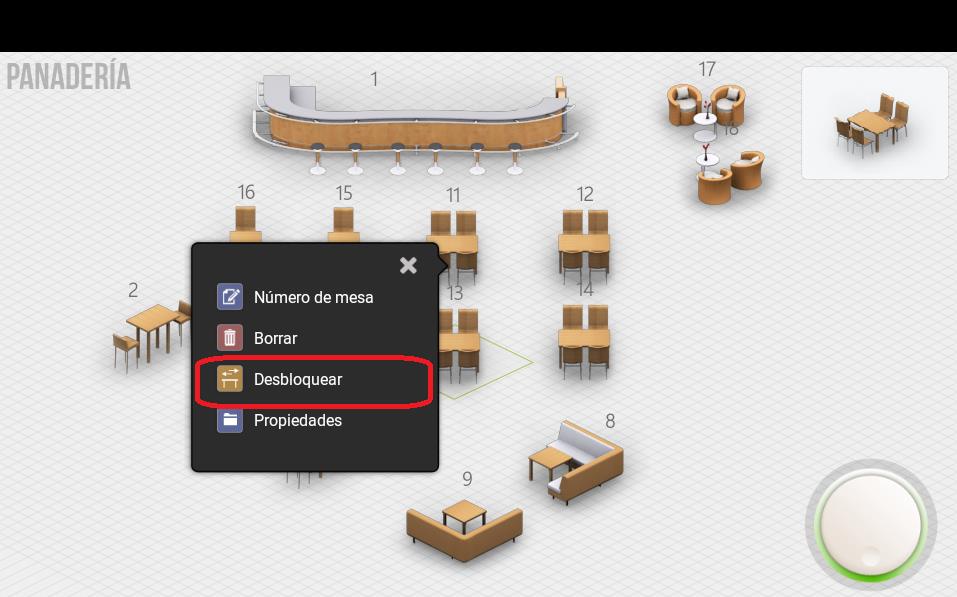
Once we have unlocked the table, that table becomes available for any terminal to access it.
AI Assistant
Section summary
AI can generate inaccurate information; verify the results.